10 Amazing Free Resources & Libraries for Video & Audio Creation
You have a great idea for a video project, but the thought of spending hours editing, recording a clear voiceover, and finding the right background music feels completely overwhelming. For most students, creating high-quality audio and video content seems to require expensive software and years of technical skill.
But what if you had access to a massive, free library of professional templates, high-quality photos, and design tutorials from the best in the business?
That’s the reality of the modern design world. This guide is built for students who want to create stunning, high-quality work without the high cost. We’ve done a deep dive to find the best free resources and libraries for presentations and design that are genuinely free forever, allowing you to build the skills and find the assets you need to succeed.
What Can You Actually Do With These Resources?
Before we dive into the list, it’s helpful to understand what makes these resources so game-changing for students.
Find Royalty-Free Assets: Download unlimited, high-quality stock videos, music, and sound effects without worrying about copyright.
Learn Professional Skills for Free: Access courses and tutorials that teach you the fundamentals of video editing, sound design, and storytelling.
Edit Like a Pro: Use powerful, open-source software that rivals expensive professional programs.
Get Inspired: Watch and analyze content from world-class creators to improve your own work.
Quick Comparison Table
Tool Name
DaVinci Resolve
Audacity
Pexels
Pixabay
YouTube Audio Library
Freesound
Canva
YouTube Creators
No Film School
Vimeo Video School
Best For
Professional Video Editing
Audio Recording & Editing
Stock Photos & Videos
Stock Video, Music & Images
Copyright-Free Music
Sound Effects Library
Quick & Easy Video Editing
Learning to Make Better Videos
Filmmaking Techniques & News
Learning Filmmaking Craft
Pricing Model
Completely Free
Completely Free
Completely Free
Completely Free
Completely Free
Completely Free
Freemium
Completely Free
Completely Free
Completely Free
Ease of Use
Intermediate
Beginner
Beginner
Beginner
Beginner
Beginner
Beginner
Beginner
Intermediate
Beginner
1. DaVinci Resolve
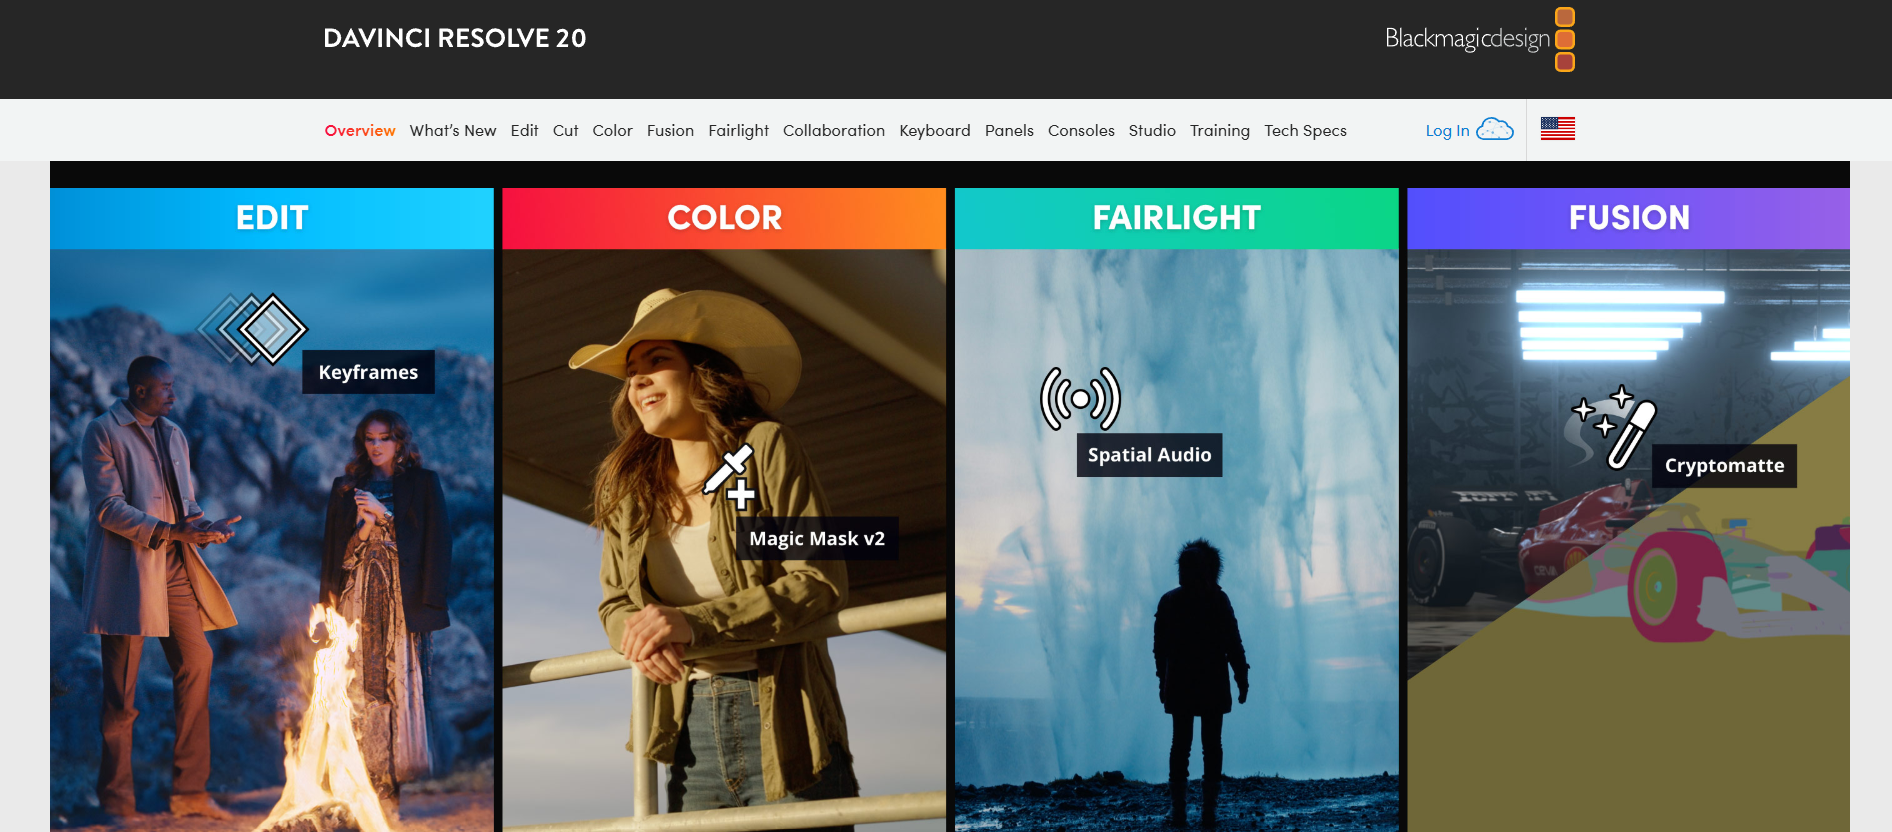
Best for: A complete, professional-grade video editing, color correction, and audio post-production suite.
DaVinci Resolve is a legendary Hollywood-grade video editing software, and its free version is shockingly powerful—more powerful than many paid editors. It’s not a “lite” or “trial” version; it’s a full-featured application that includes editing, visual effects (Fusion), color grading, and audio production (Fairlight). For any student serious about learning the craft of video editing, this is the single best free tool on the planet.
Use Case Example: A film student wants to edit their short film project. They use DaVinci Resolve to cut their footage, perform professional color correction to give it a cinematic look, and use the Fairlight tools to clean up their audio and mix the sound.
Pricing Details: Completely Free. The standard version of DaVinci Resolve is 100% free forever for any use, personal or commercial. A paid “Studio” version exists for very high-end features like advanced AI tools, but the free version is more than enough for almost any project.
What You’ll Need: A reasonably powerful desktop computer or laptop (Windows, Mac, or Linux) with a dedicated graphics card for the best performance.
Learning Curve: Intermediate. As a professional tool, it has a steep learning curve compared to simple editors. However, the company provides excellent free training materials.
What to Watch Out For: It can be very demanding on your computer’s resources. Older or less powerful laptops may struggle to run it smoothly.
Beginner Tutorial: Blackmagic (the creators) has a fantastic official “Beginner’s Guide to Editing in DaVinci Resolve” here on YouTube.
2. Audacity

Best for: Recording, editing, and cleaning up audio for voiceovers and podcasts.
Audacity is the world’s most popular free, open-source audio editor, and for good reason. It’s a powerful and reliable tool for recording and editing audio. Whether you need to record a voiceover for a video, edit a podcast, or remove background noise from an audio clip, Audacity has the tools you need. It’s an essential piece of software for anyone creating content.
Use Case Example: A student records a voiceover for their presentation but notices a constant humming sound from their computer fan in the background. They use Audacity’s “Noise Reduction” effect to easily remove the hum, resulting in a clean, professional-sounding recording.
Pricing Details: Completely Free. Audacity is open-source and 100% free for everyone, for any purpose.
What You’ll Need: A desktop computer or laptop (Windows, Mac, or Linux) and a microphone for recording.
Learning Curve: Beginner. The basics of recording and editing are very easy to pick up. Mastering its more advanced effects takes some practice.
What to Watch Out For: The user interface looks a bit dated compared to modern paid software, but its functionality is top-notch.
Beginner Tutorial: You can find a great, clear “Audacity for Beginners” tutorial here on YouTube.
3. Pexels
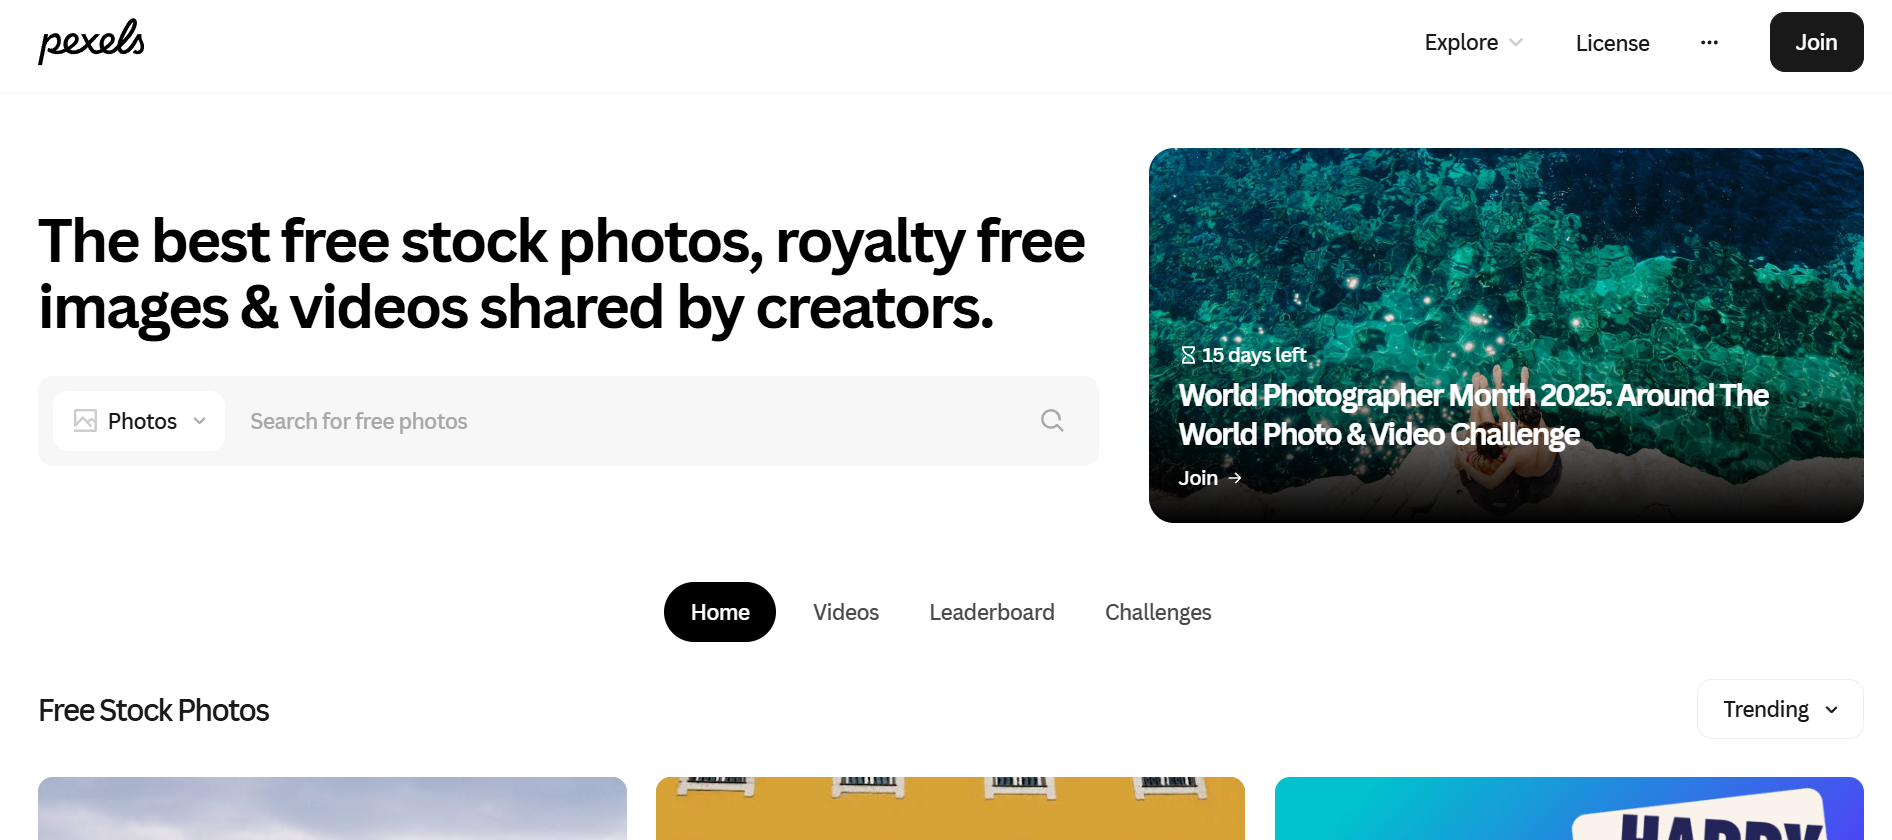
Best for: A huge library of both high-quality stock photos and free stock videos.
Pexels is an incredible resource for students who need to find high-quality visuals for their projects. It offers a massive, easily searchable library of free stock photos and, crucially, thousands of free stock videos. The quality is excellent, and the content is modern and authentic, making it perfect for adding professional-looking B-roll footage to your videos or a stunning background to your presentation.
Use Case Example: A student is creating a video about travel. They go to Pexels and download several beautiful, high-resolution video clips of different landscapes to edit into their project, making it look like a professional travel documentary.
Pricing Details: Completely Free. All photos and videos on Pexels are free to use for personal and commercial projects under the Pexels License, with no attribution required.
What You’ll Need: A web browser.
Learning Curve: Beginner. The website is as easy to use as a standard search engine.
What to Watch Out For: Because the content is so popular, you may see the same clips used in other videos. Try to find unique shots to make your project stand out.
Beginner Tutorial: You can find a helpful guide on how to get the most out of Pexels here on YouTube.
4. Pixabay
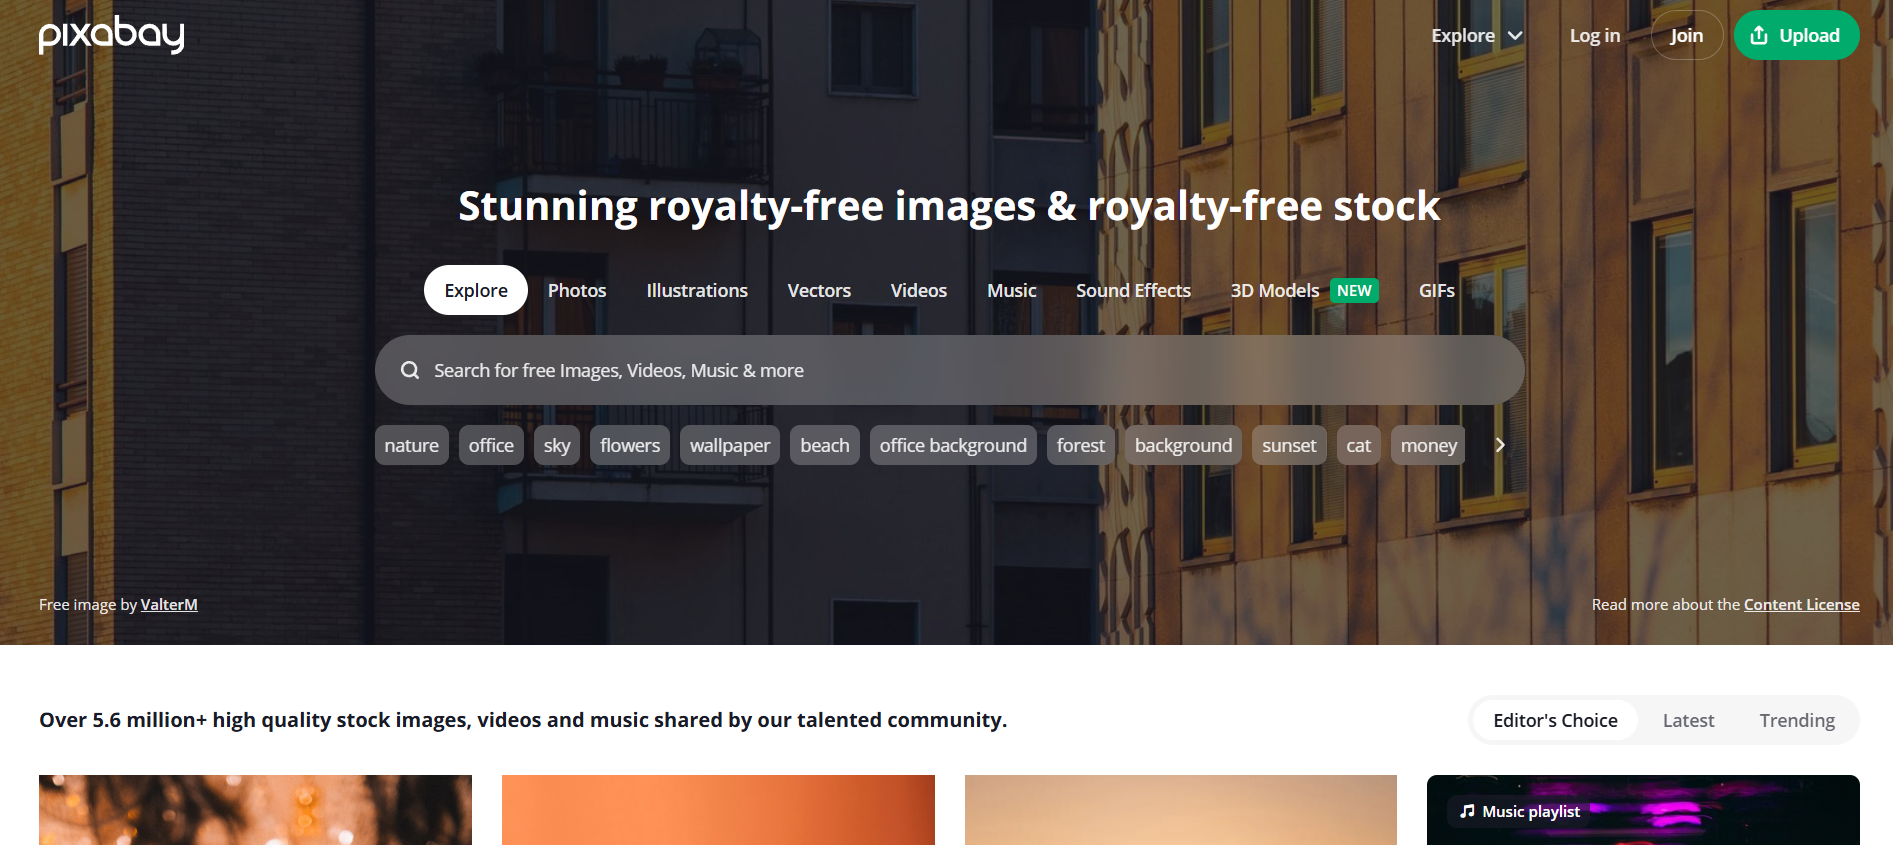
Best for: A massive library of free stock video, music, sound effects, and images.
Similar to Pexels, Pixabay is another huge library of free creative assets. Its main advantage is its incredible variety. In addition to photos and videos, Pixabay also offers a large collection of free background music and sound effects, making it a true one-stop shop for many of your project’s needs.
Use Case Example: A student is making a short, funny video for a class project. They find a perfect video clip on Pixabay, then browse the “Sound Effects” category to find a comedic “boing” sound to add to their edit.
Pricing Details: Completely Free. All content on Pixabay is free to use for personal and commercial purposes without attribution under the Pixabay Content License.
What You’ll Need: A web browser.
Learning Curve: Beginner. The website is very easy to search and navigate.
What to Watch Out For: With such a large library, the quality can sometimes be inconsistent. It may take a bit of searching to find the perfect, highest-quality asset.
Beginner Tutorial: You can find a great guide on how to effectively use Pixabay here on YouTube.
5. YouTube Audio Library
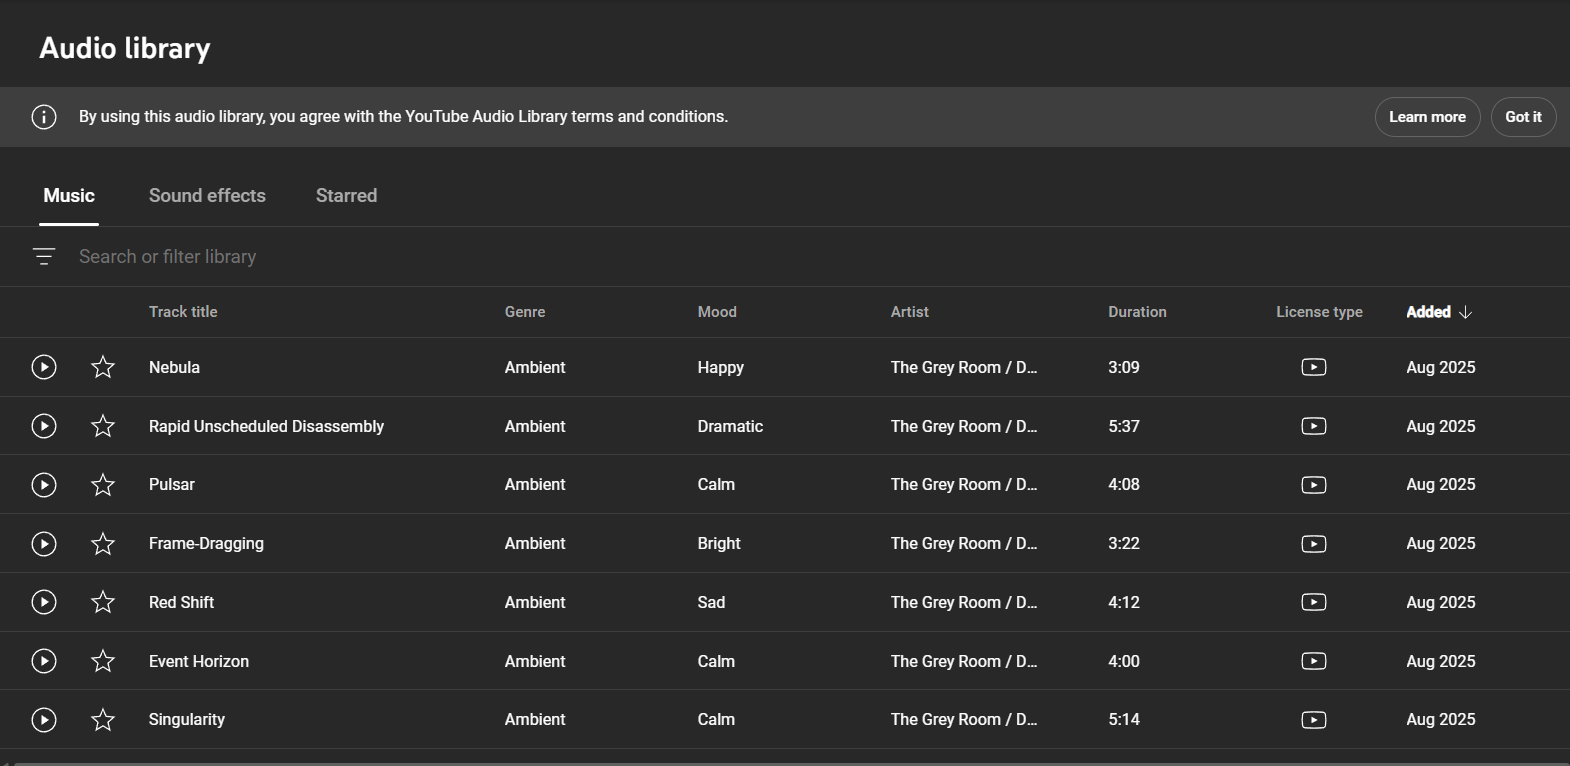
Best for: Finding high-quality, copyright-safe music and sound effects for your YouTube videos.
If you plan to upload your video project to YouTube, the YouTube Audio Library is the safest and easiest place to get your music. It’s a huge collection of music tracks and sound effects, provided by YouTube itself, that are guaranteed to be copyright-free. You can filter by genre, mood, and duration to find the perfect background track for your video.
Use Case Example: A student creates a video tutorial and wants to add some background music. They go to the YouTube Audio Library, find an upbeat, instrumental track, and add it to their video, knowing that they won’t get a copyright strike when they upload it.
Pricing Details: Completely Free. The entire library is free to use for any content you create, but the tracks are primarily intended for use in videos on YouTube.
What You’ll Need: A web browser and a YouTube account.
Learning Curve: Beginner. The interface is very simple and easy to search.
What to Watch Out For: Some tracks require you to give attribution to the artist in your video’s description. The library clearly tells you when this is required.
Beginner Tutorial: You can find a great official guide on how to access and use the YouTube Audio Library here on YouTube.
6. Freesound
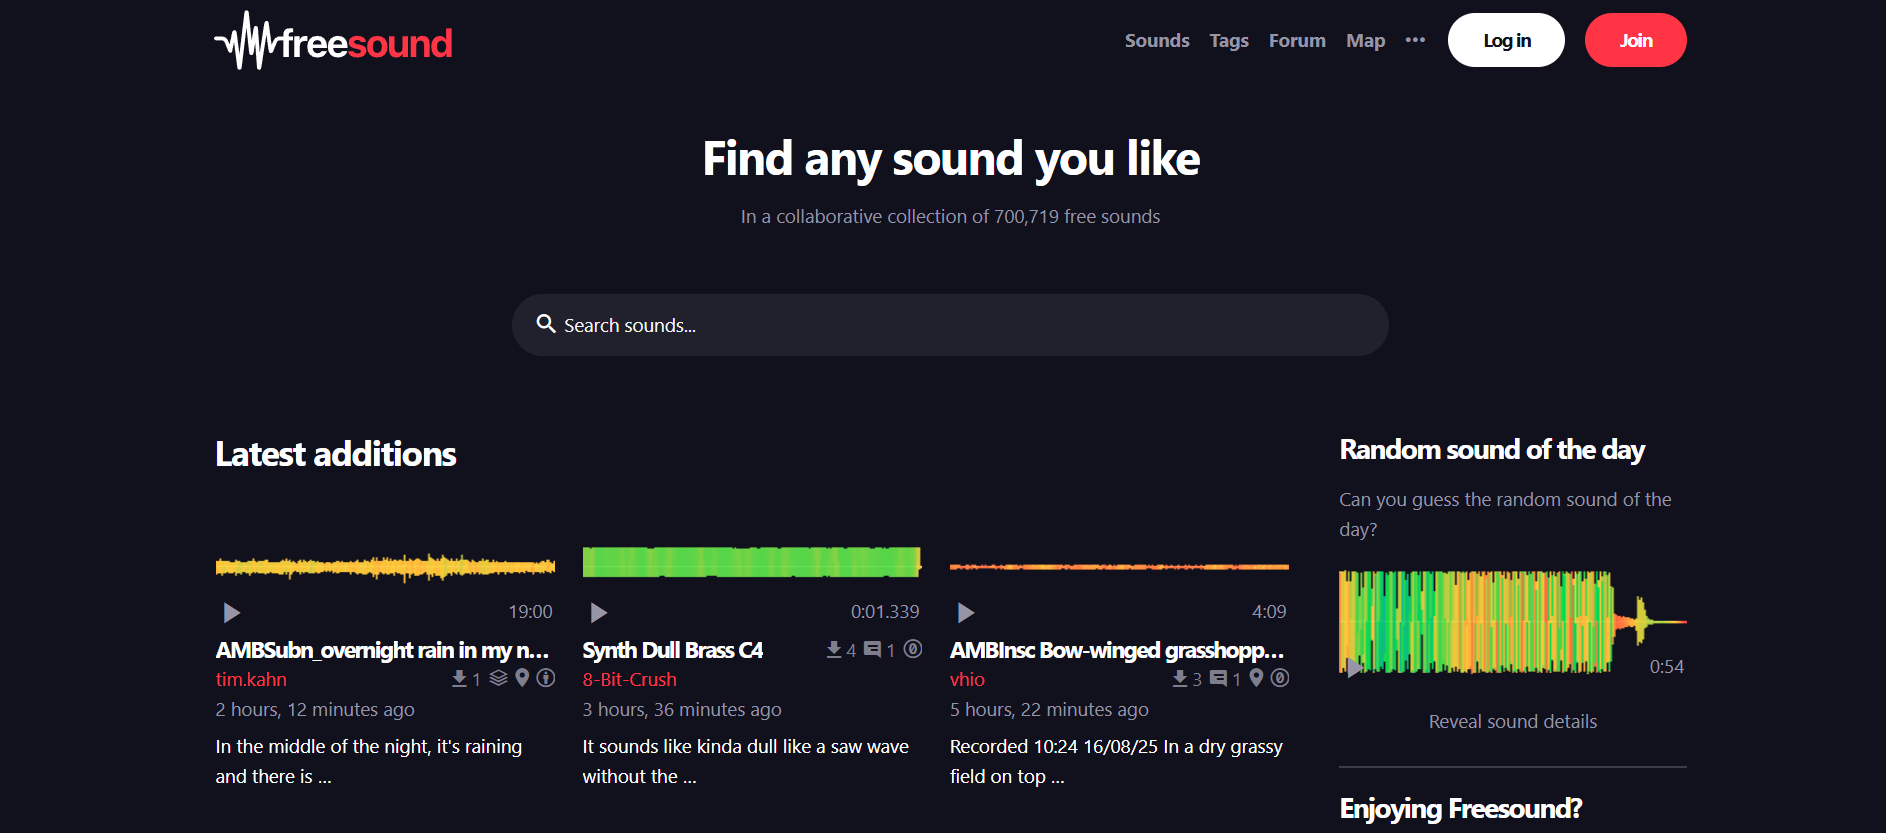
Best for: A massive, community-driven library of sound effects for any project.
Freesound is an incredible open-source library of sound effects. It’s a collaborative database of audio snippets, samples, and recordings released under Creative Commons licenses. If you need a specific sound effect for your video—from a door creaking to a futuristic spaceship sound—there’s a very high chance you’ll find it on Freesound.
Use Case Example: A student is creating a short horror film. They use Freesound to find all the audio they need: footsteps, a creaking door, a distant scream, and an eerie ambient background track.
Pricing Details: Completely Free. The entire library is free to use, but each sound has its own Creative Commons license. Many are free for commercial use, but some require attribution.
What You’ll Need: A web browser.
Learning Curve: Beginner. The website is easy to search.
What to Watch Out For: It’s very important to check the license for each individual sound you download. The site makes it easy to see what is required for each file.
Beginner Tutorial: You can find a helpful guide on how to navigate the site and understand the licenses here on YouTube.
7. Canva
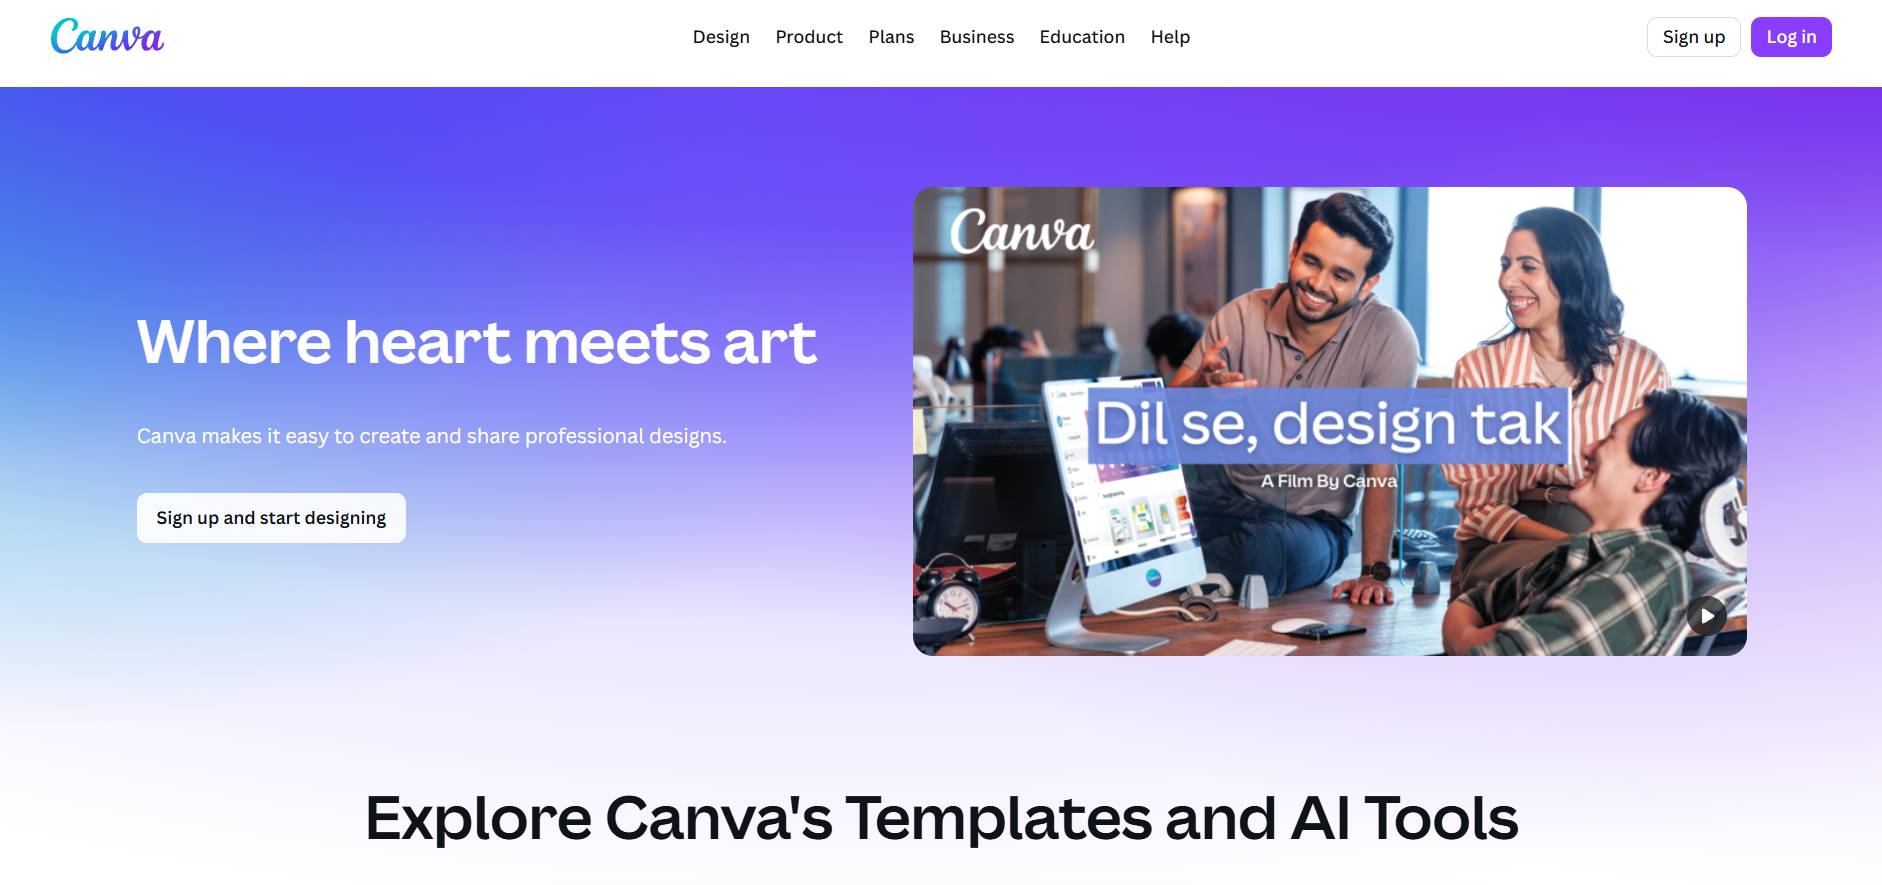
Best for: Quick, simple, and template-driven video editing for social media and short projects.
While not a professional video editor like DaVinci Resolve, Canva’s free video editor is perfect for students who need to create a short, beautiful video quickly. It uses the same easy, drag-and-drop interface that Canva is famous for. You can use their templates to easily create videos for social media, add animated text, and access their library of free stock footage and music, all in one place.
Use Case Example: A student needs to create a 30-second promotional video for a college event for Instagram Reels. They use a Canva video template, add their own text and a few video clips, and export a perfectly formatted vertical video in minutes.
Pricing Details: Excellent Freemium Model. The free plan is incredibly powerful. It allows you to create and export unlimited watermark-free videos and gives you access to a huge library of free templates, video clips, and audio tracks.
What You’ll Need: A web browser.
Learning Curve: Beginner. If you can make a Canva presentation, you can make a Canva video.
What to Watch Out For: The editor is timeline-based but very simple. It’s not designed for complex, multi-track editing or advanced visual effects.
Beginner Tutorial: Canva has a great official “Video for Beginners” tutorial that covers all the basics here on YouTube.
8. YouTube Creators
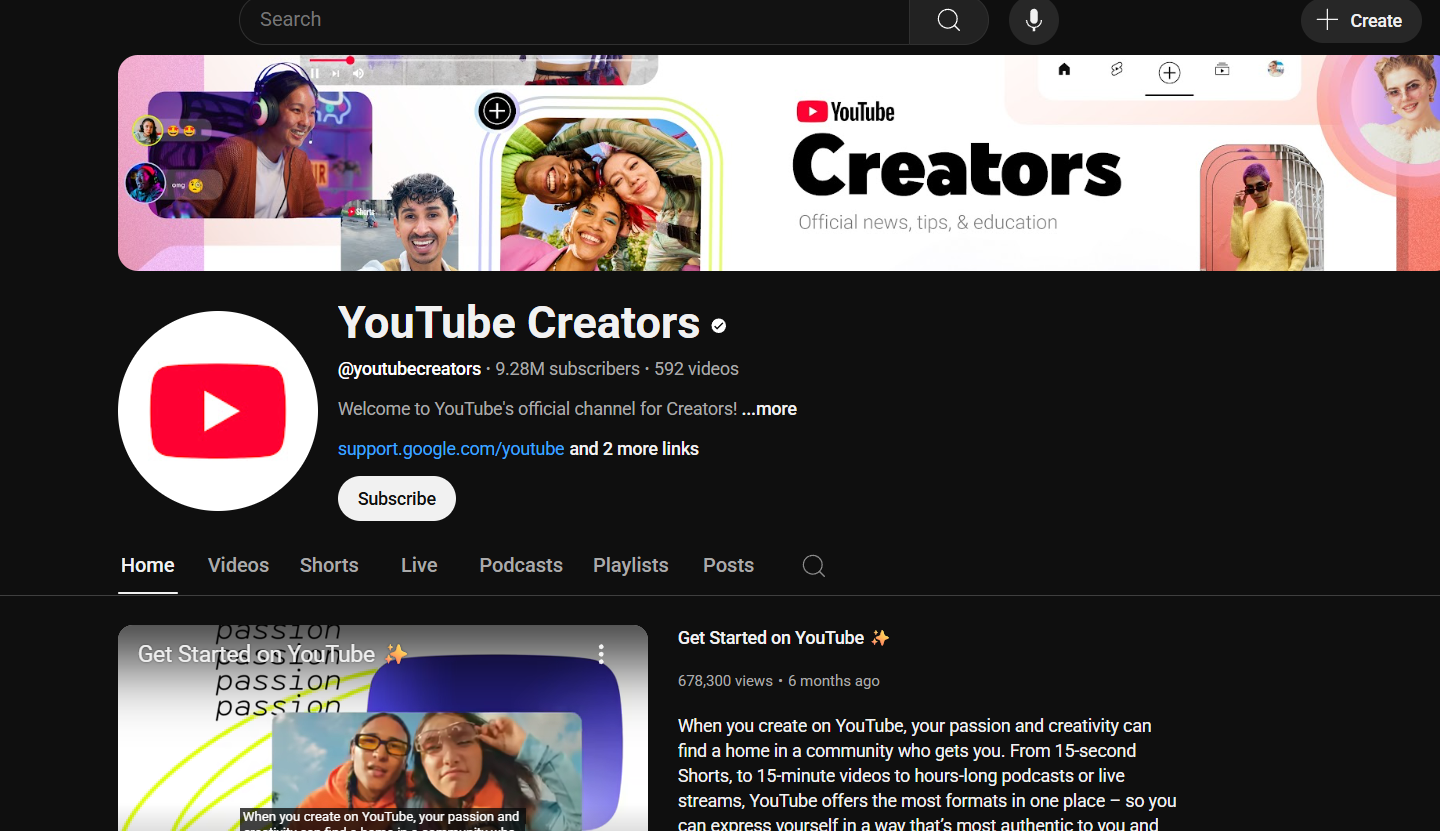
Best for: Learning the art and business of creating successful online videos.
The YouTube Creators channel is Google’s official resource for helping people make better videos and grow their channels. It’s a massive free library of high-quality videos that cover everything from the basics of filming and lighting to advanced strategies for audience engagement and monetization. It’s an essential resource for any student who wants to take their video creation skills seriously.
Use Case Example: A student wants to start a YouTube channel for their college projects. They watch the videos on the YouTube Creators channel to learn how to design an effective thumbnail, how to write a good title, and how to understand their channel’s analytics.
Pricing Details: Completely Free. All the content on the channel is free to watch.
What You’ll Need: A web browser (to access YouTube).
Learning Curve: Beginner. The videos are designed to be clear, engaging, and easy to understand for creators at all levels.
What to Watch Out For: The advice is tailored specifically for the YouTube platform, but the core principles of good video creation are universal.
Beginner Tutorial: A great place to start is their “Get Started” playlist here on YouTube.
9. No Film School
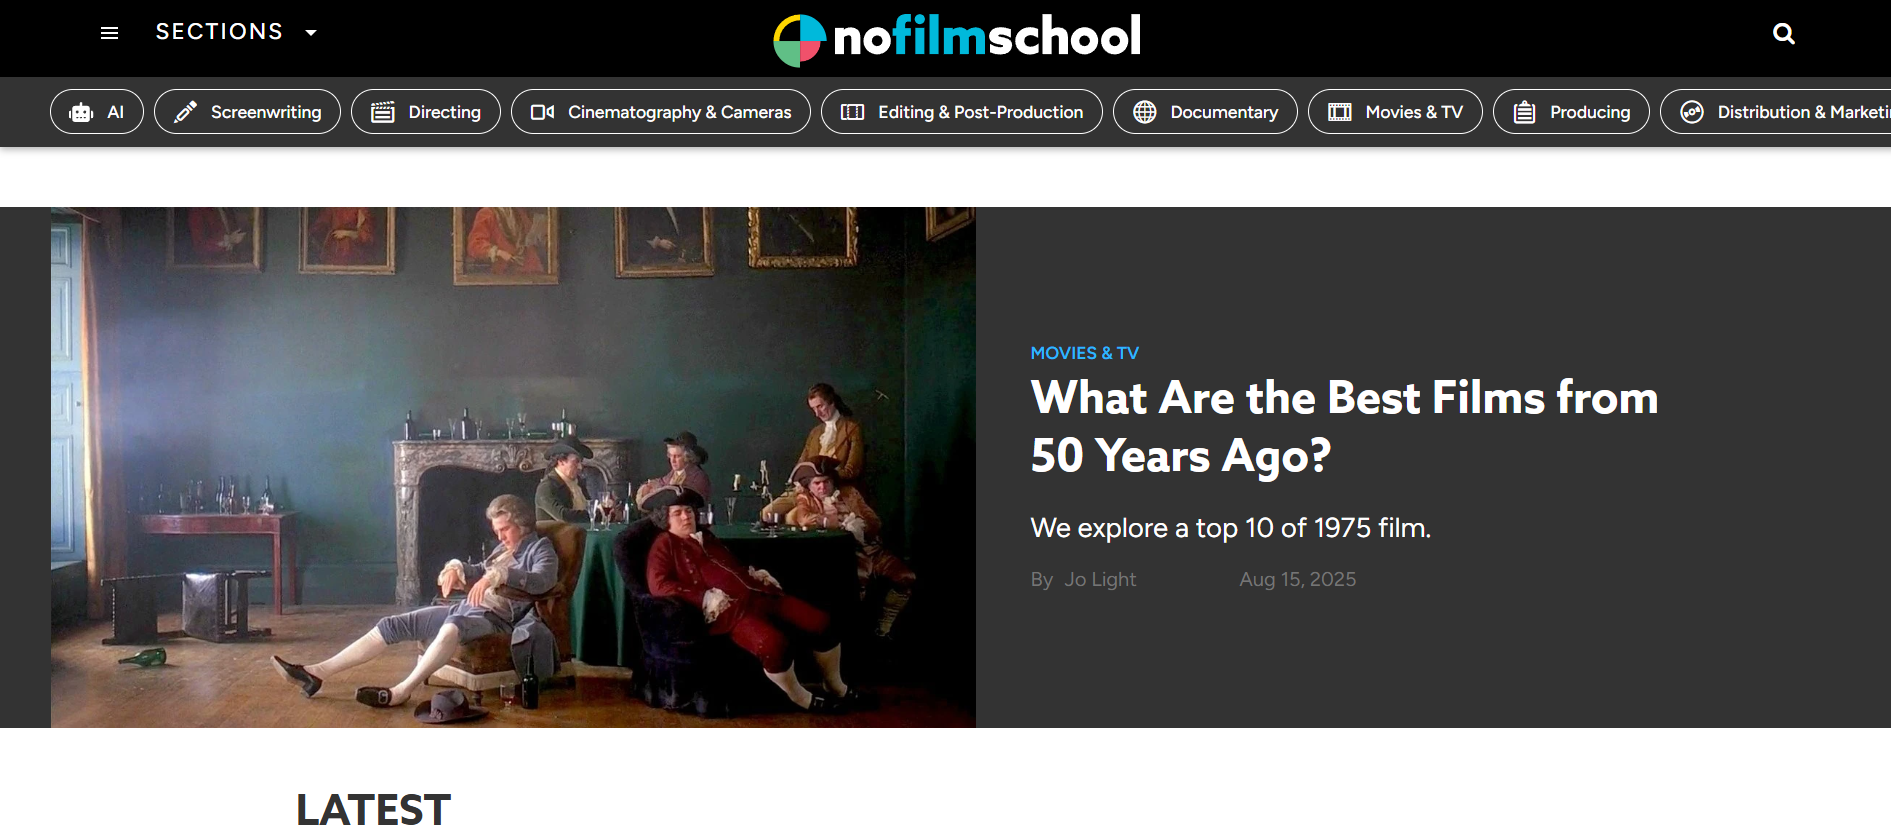
Best for: In-depth articles, interviews, and tutorials on the craft of filmmaking.
No Film School is a highly respected online community and publication for filmmakers, screenwriters, and video creators. It’s a massive free library of articles, podcasts, and videos that go deep into the art and craft of visual storytelling. You can read about everything from camera techniques and lighting setups to screenwriting advice and interviews with famous directors.
Use Case Example: A film student is working on a script for their short film. They go to the “Screenwriting” section of No Film School and read articles that break down the structure of their favorite movies, giving them a better understanding of how to craft a compelling story.
Pricing Details: Completely Free. The entire library of articles and podcasts is free to access.
What You’ll Need: A web browser.
Learning Curve: Intermediate. The content is often geared towards those who already have a basic understanding of filmmaking concepts.
What to Watch Out For: It’s a resource for learning the craft, not a technical software tutorial site. It will teach you why you should use a certain shot, not which button to press in your editor.
Beginner Tutorial: The best way to get started is to simply browse the topics that interest you on their website.
10. Vimeo Video School
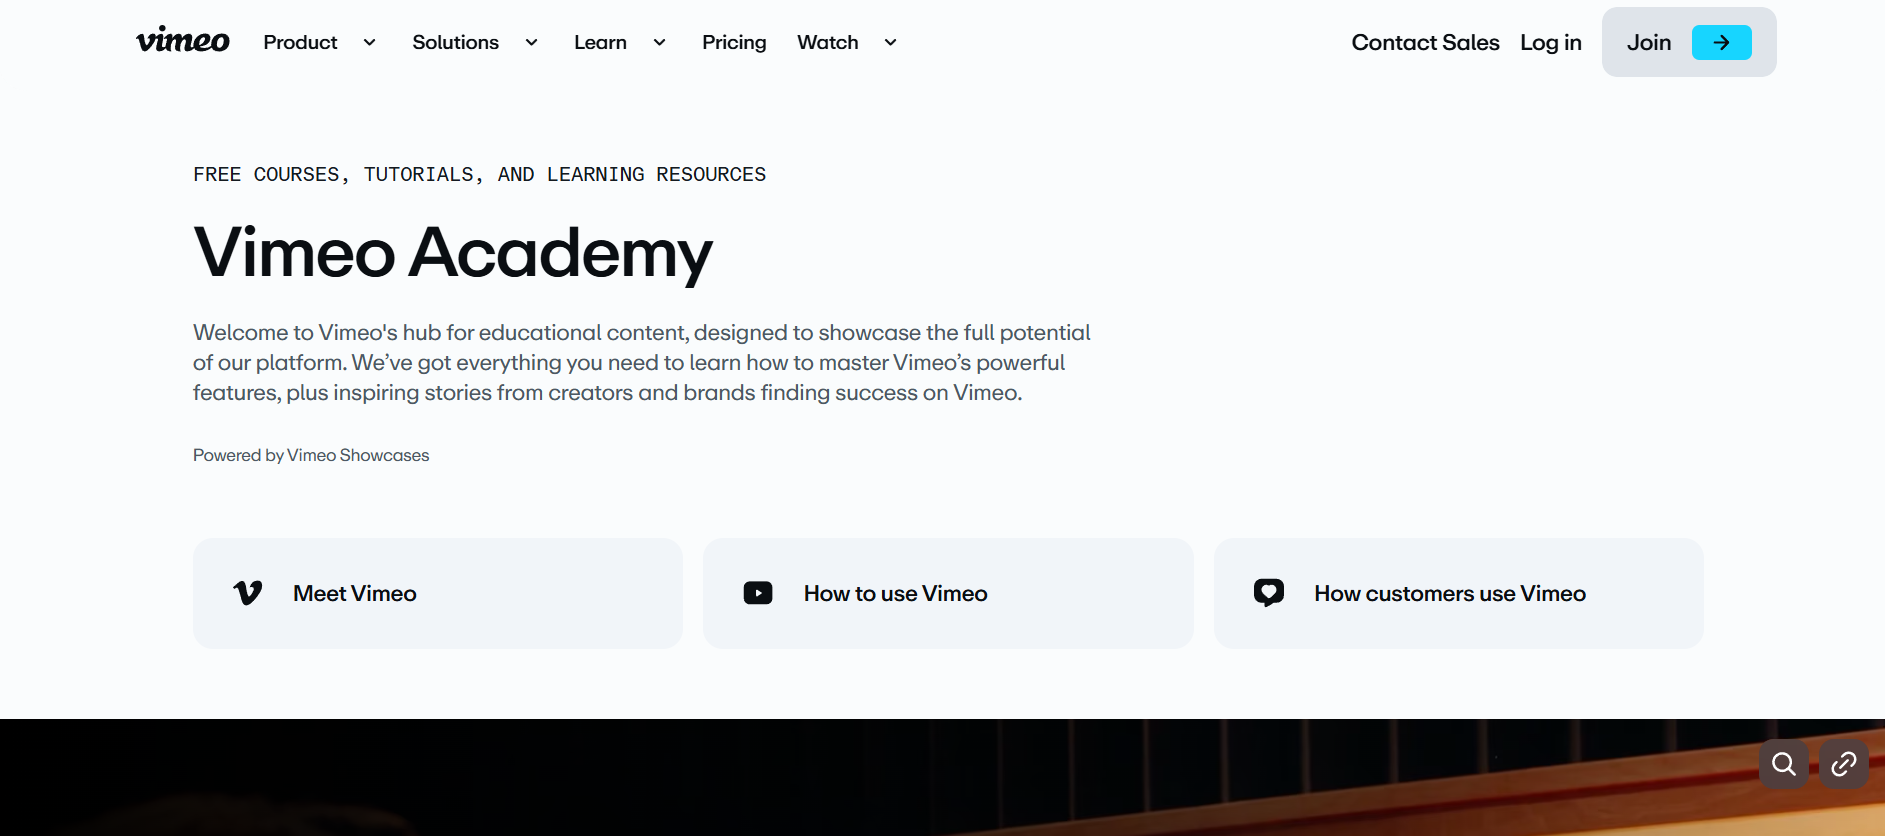
Best for: Learning the fundamentals of filmmaking, from camera basics to lighting.
Vimeo Video School is a free library of high-quality, easy-to-follow video tutorials that teach the craft of filmmaking. Unlike other resources that focus on software, Vimeo’s lessons are all about the practical skills you need on set. You can learn about composition, how to light an interview, how to choose the right lens, and much more. It’s a fantastic resource for students who want to improve the actual quality of their camerawork.
Use Case Example: A student is about to shoot their first interview for a documentary project but doesn’t know how to light it properly. They watch the “3-Point Lighting” tutorial on Vimeo Video School and learn a simple, professional technique.
Pricing Details: Completely Free. The entire library of video lessons is free to watch.
What You’ll Need: A web browser.
Learning Curve: Beginner. The tutorials are designed to be very clear and are perfect for those new to filmmaking.
What to Watch Out For: The lessons are high-level and focus on the craft. They won’t teach you how to use a specific piece of editing software.
Beginner Tutorial: A great place to start is their Video series, which you can find here on their website.
Which Resource Should You Start With?
Feeling a bit overwhelmed by the options? Here’s a quick guide:
If you want to learn professional video editing… download DaVinci Resolve. Its free version is a complete, Hollywood-grade tool.
If you need free music, videos, and images right now… your first stops should be Pexels, Pixabay, and the YouTube Audio Library.
If you want to learn how to be a better creator… start watching videos on the YouTube Creators channel and learning the craft at Vimeo Video School.
If you need to edit a short video quickly… use Canva. Its simple, template-based editor is the fastest way to get a great result.
Your Journey into Content Creation Starts Now
As you can see, you have access to a complete, professional-grade production studio without needing to spend a single rupee. From powerful editing software and massive libraries of free assets to expert-led courses on filmmaking and storytelling, these free resources provide a clear path for any student to create high-quality video and audio content.
The best way to learn is by doing. Pick one resource from this list that solves a problem you’re facing right now—whether it’s finding the right background music or learning a new editing trick—and start creating today. You’ll be amazed at what you can produce.
Written By
Prateek Singh.
Last Updated – August, 2025
About The Author
Prateek Singh believes the best way to learn is to get your hands dirty. He went from talking to customers in sales to building the online platforms they use. IndiaShouldKnow.com is his way of sharing that practical, hands-on knowledge with you.
FAQs About AI Use.
Can I trust every answer an AI tool gives me for my studies?
A: No, you should not trust every answer completely. Think of an AI as a super-smart assistant that has read most of the internet—but not every book in the library is accurate.
AI can sometimes make mistakes, misunderstand your question, or use outdated information.
It can even “hallucinate,” which means it confidently makes up an answer that sounds real but is completely false.
Rule of Thumb: Use AI answers as a great starting point, but never as the final, absolute truth. Always double-check important facts.
How can I verify the information I get from an AI for my academic work?
A: Verifying information is a crucial skill. It’s like being a detective for facts. Here are four simple steps:
Check Your Course Material: Is the AI’s answer consistent with what your textbook, lecture notes, or professor says? This is your most reliable source.
Look for Reputable Sources: Ask the AI for its sources or search for the information online. Look for links from universities (.edu), government sites (.gov), respected news organizations, or published academic journals.
Cross-Reference: Ask a different AI the same question, or type your question into a standard search engine like Google. If multiple reliable sources give the same answer, it’s more likely to be correct.
Use Common Sense: If an answer seems too perfect, too strange, or too good to be true, be extra skeptical and investigate it further.
What is the difference between using AI for research and using it to plagiarize?
A: This is a very important difference. It’s all about who is doing the thinking.
Using AI for Research (Good ✅):
Brainstorming topics for a paper.
Asking for a simple explanation of a complex theory.
Finding keywords to use in your library search.
Getting feedback on your grammar and sentence structure.
You are using AI as a tool to help you think and write better.
Using AI to Plagiarize (Bad ❌):
Copying and pasting an AI-generated answer directly into your assignment.
Asking the AI to write an entire essay or paragraph for you.
Slightly rephrasing an AI’s answer and submitting it as your own original thought.
You are letting the AI do the thinking and work for you.
How can I use AI ethically to support my learning without violating my school's academic honesty policy?
A: Using AI ethically means using it to learn, not to cheat. Here’s how:
Know the Rules: First and foremost, read your school’s or professor’s policy on using AI tools. This is the most important step.
Be the Author: The final work you submit must be yours. Your ideas, your structure, and your arguments. Use AI as a guide, not the writer.
Do the Heavy Lifting: Use AI to understand a topic, but then close the chat and write your summary or solve the problem yourself to make sure you have actually learned it.
Be Transparent: If you used an AI in a significant way (like for brainstorming), ask your professor if you should mention it. Honesty is always the best policy.
Can an AI's answer be biased? How can I detect this in its responses?
A: Yes, an AI’s answer can definitely be biased. Since AI learns from the vast amount of text on the internet written by humans, it can pick up and repeat human biases.
Here’s how to spot potential bias:
Look for Opinions: Does the answer present a strong opinion as a fact?
Check for One-Sidedness: On a topic with multiple viewpoints (like politics or economics), does the AI only show one side of the argument?
Watch for Stereotypes: Does the answer use generalizations about groups of people based on their race, gender, nationality, or other characteristics?
To avoid being misled by bias, always try to get information from multiple, varied sources.
Is it safe to upload my personal notes, research papers, or assignments to an AI tool?
A: It is best to be very careful. You should not consider your conversations with most public AI tools to be private.
Many AI companies use your conversations to train their systems, which means employees or contractors might read them.
There is always a risk of data breaches or leaks.
A Simple Safety Rule: Do not upload or paste any sensitive information that you would not want a stranger to see. This includes:
Personal identification details.
Confidential research or unpublished papers.
Your school assignments before you submit them.
Any financial or private data.
Related Articles
Sign Up for Our Newsletter To Learn More About the Latest In AI And Learn How To Use It.
Unlock your learning potential and stay ahead in the age of AI! Join the IndiaShouldKnow.com newsletter to discover how to seamlessly integrate Google AI into your studies for school, entrance exams, and college. Plus, get the latest insights on cutting-edge AI tools that can empower your career and enrich your life. Subscribe now for monthly updates.
