10 Great Free AI Tools For
Audio & Video Editing.

From creating professional voiceovers to editing videos with simple text commands, these free AI assistants will revolutionize your student projects.
You have a great idea for a video project, but the thought of spending hours editing, recording a clear voiceover, and finding the right background music feels completely overwhelming. For most students, creating high-quality audio and video content seems to require expensive software and years of technical skill.
But what if you had an AI-powered production studio on your computer, ready to help you edit videos, generate realistic voiceovers, and create custom music for free?
That’s exactly what the latest AI tools offer. This guide is for students who need to create professional-grade multimedia content without a professional budget. We’ve done a deep dive to find the best AI tools for audio and video that have incredible “free forever” plans or very generous free tiers, perfect for long-term use on your academic and personal projects.
What Can You Actually Do With These AI Tools?
Before we dive into the list, it’s helpful to understand what makes these tools so game-changing for students.
Edit Videos by Editing Text: The fastest way to edit. Simply delete words from the transcript to cut the corresponding video and audio.
Create Realistic Voiceovers: Turn your script into a high-quality, human-sounding voiceover in seconds, without needing a microphone.
Generate Royalty-Free Music: Create custom background music that perfectly fits the mood and length of your video.
Automate Tedious Tasks: Let AI handle time-consuming tasks like removing background noise, adding subtitles, and removing filler words (“ums” and “ahs”).
Quick Comparison Table
Tool Name
Descript
RunwayML
InVideo AI
Kapwing AI
Vmaker AI
Adobe Express
Otter.ai
ElevenLabs
Soundful
Luvvoice
Best For
All-in-One Video & Audio Editing
AI Video Generation & Effects
Text-to-Video Creation
Quick & Easy Online Video Editing
AI Video Editor & Screen Recorder
All-in-One Video & Design
Transcribing Audio to Text
Realistic Text-to-Speech
AI Music Generation
AI Voice Cloning & TTS
Pricing Model
Freemium
Freemium (with credits)
Freemium
Freemium
Freemium
Freemium
Freemium
Freemium (with credits)
Freemium
Freemium (with credits)
Ease of Use
Beginner
Intermediate
Beginner
Beginner
Beginner
Beginner
Beginner
Beginner
Beginner
Beginner
1. Descript
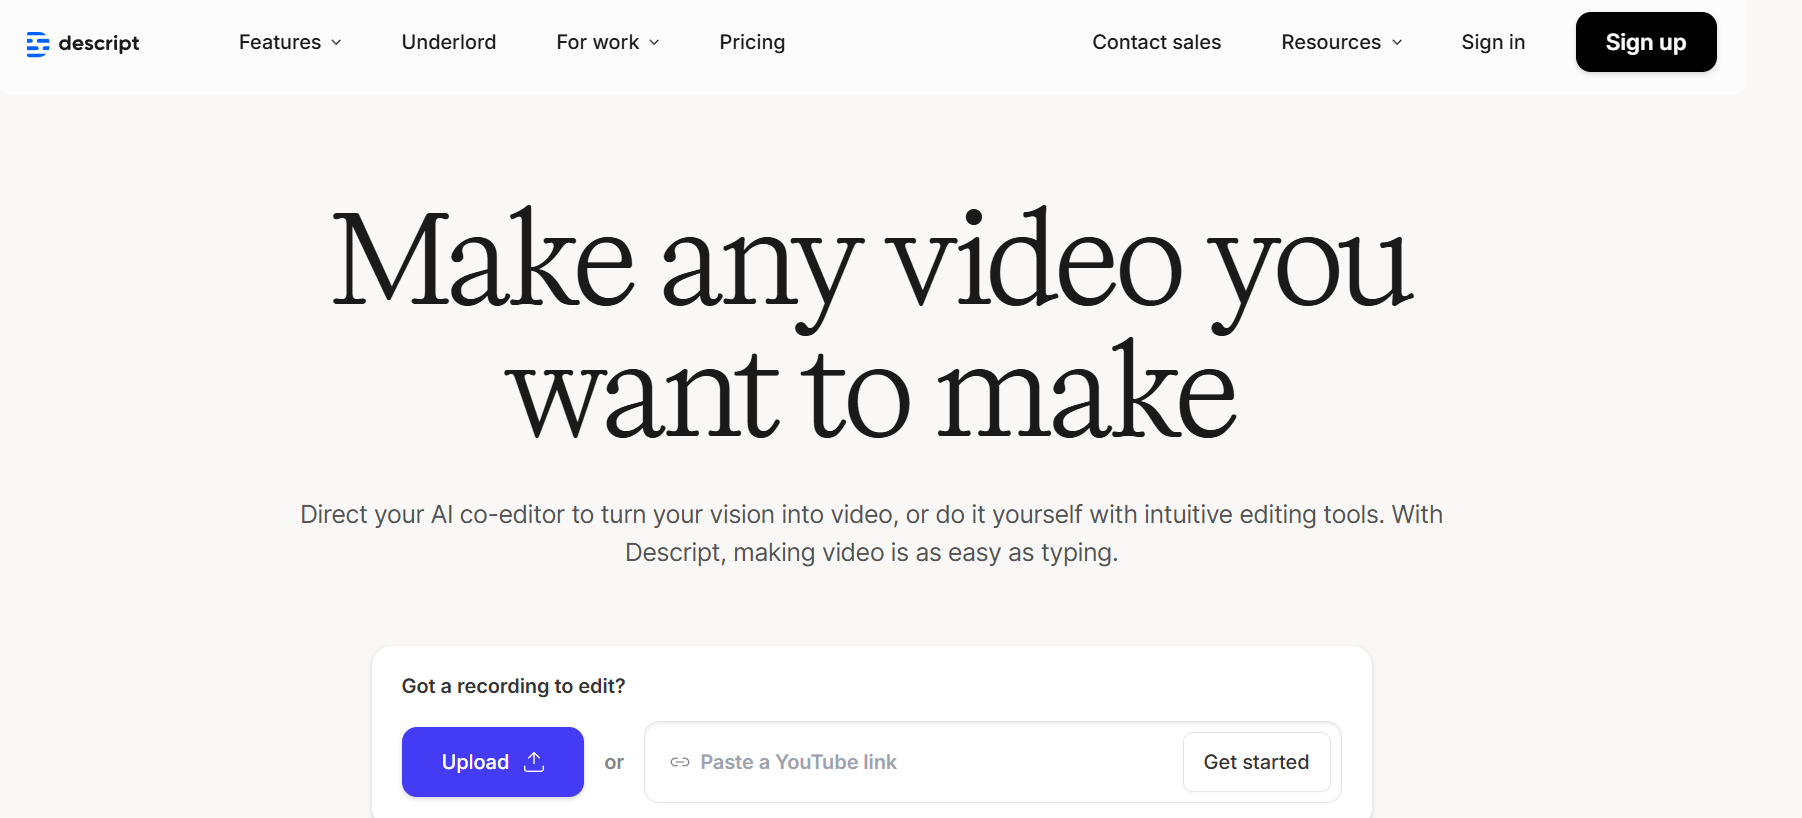
Best for: The all-in-one solution for text-based video and audio editing.
Descript is a revolutionary tool that changes the entire video editing process. Instead of scrubbing through a timeline, you edit your video by simply editing its automatically generated text transcript. If you want to cut a section of your video, you just delete the corresponding words in the text. It also includes an AI voice cloner (“Overdub”), an AI green screen effect, and tools to automatically remove filler words.
Use Case Example: A student records a 15-minute presentation for a class project but stumbles over their words a few times. They use Descript to automatically remove all the “ums” and “ahs” with a single click and edit down the content by deleting sentences from the transcript.
Pricing Details: Excellent Freemium Model. The “Free” plan is fantastic for students. It includes 1 hour of transcription per month and allows you to export one watermark-free video per month.
What You’ll Need: The Descript desktop app for Mac or Windows.
Learning Curve: Beginner. While the tool is incredibly powerful, the core concept of editing text is very intuitive and easy to learn.
What to Watch Out For: The one watermark-free export per month on the free plan means you need to be sure your project is finished before you export.
Beginner Tutorial: Descript has a great “Getting Started” guide here on YouTube.
2. RunwayML
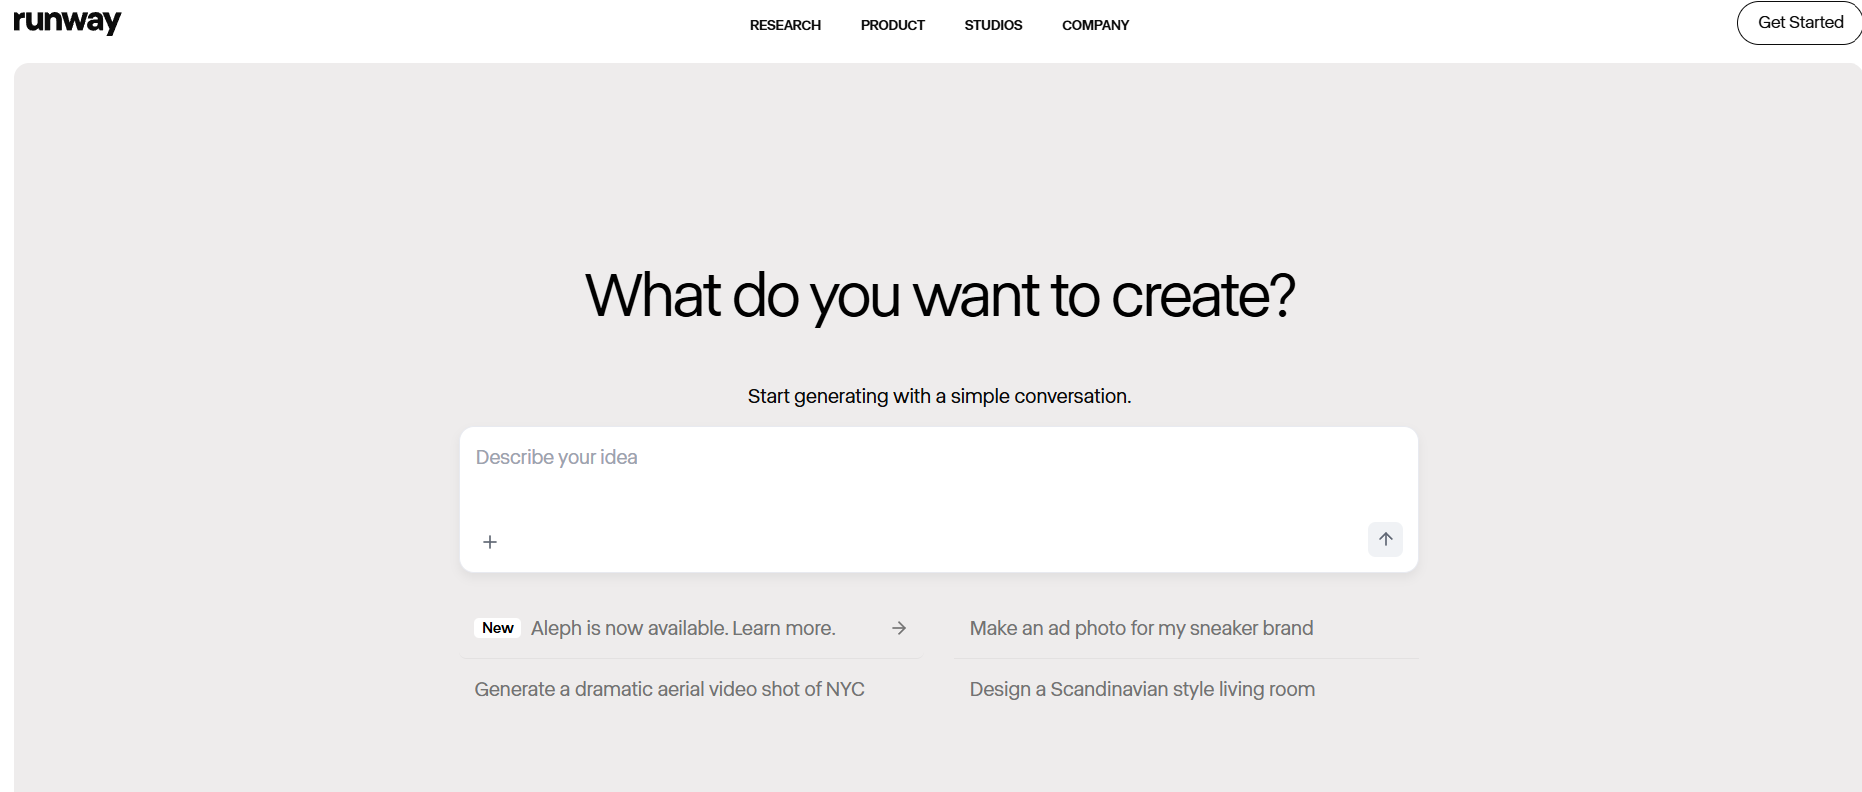
Best for: State-of-the-art AI video generation and magical special effects.
Runway is at the cutting edge of AI video. It’s a web-based creative suite that feels like a magic toolbox for filmmakers and artists. You can generate entire video clips from a text prompt (Text to Video), extend the length of your existing videos (Infinite Image), and use a huge range of AI-powered “Magic Tools” to do things like remove the background from a video, paint out unwanted objects, or automatically track motion.
Use Case Example: A student making a short film needs a shot of “a futuristic cityscape at sunset.” They use Runway’s Text to Video generator to create the exact clip they need, saving them from having to find or create complex visual effects.
Pricing Details: Freemium (with credits). The free “Basic” plan gives you a starting balance of 125 credits. Using the AI tools consumes these credits. The credits do not replenish, so the free plan is more like an extended trial.
What You’ll Need: A web browser.
Learning Curve: Intermediate. The interface is clean, but understanding how to get the most out of the advanced AI tools takes some experimentation.
What to Watch Out For: The one-time credit system on the free plan means you’ll need to upgrade for any long-term or heavy use. AI video generation can be unpredictable and may require several attempts to get the perfect shot.
Beginner Tutorial: You can find a great introduction to Runway here on YouTube.
3. InVideo AI

Best for: Quickly creating complete videos from a single text prompt.
InVideo AI is designed to be the fastest way to go from an idea to a finished video. You give it a detailed prompt describing the video you want to create—including the topic, tone, and target audience—and its AI will generate a complete video with a script, voiceover, stock footage, text overlays, and background music. It’s perfect for students who need to create informational or promotional videos quickly.
Use Case Example: A student needs to create a 2-minute explainer video about a historical event for a class project. They give InVideo a prompt like “Create a short, engaging video about the moon landing for a high school audience,” and the AI generates a full video they can then edit and customize.
Pricing Details: Generous Freemium Model. The free plan allows you to create and export videos, but they will have an InVideo watermark. It also gives you a certain amount of free AI generation time each week.
What You’ll Need: A web browser.
Learning Curve: Beginner. The prompt-based workflow is incredibly simple and guides you through the process.
What to Watch Out For: The videos on the free plan will have a prominent watermark. You have less creative control compared to a traditional video editor.
Beginner Tutorial: Here’s a great guide on how to use the AI video generator here on YouTube.
4. Kapwing AI

Best for: A fast, easy, and collaborative online video editor with smart AI tools.
Kapwing is a browser-based video editor that’s as easy to use as a Google Doc, making it perfect for student projects. Its AI tools are designed to automate the most annoying parts of editing. It can automatically generate subtitles for your video, remove the background with a single click, clean up your audio to remove noise, and even find moments of silence in your video and remove them for you.
Use Case Example: A student team is working on a group video project. They can all collaborate on the same Kapwing project in real-time, using the AI subtitle generator to make their video accessible and the AI background remover to create a professional look.
Pricing Details: Excellent Freemium Model. The free plan is very generous. You can export unlimited watermark-free videos (up to 4 minutes long). This is one of the best free plans available for a video editor.
What You’ll Need: A web browser.
Learning Curve: Beginner. The interface is clean, simple, and designed for users with no prior video editing experience.
What to Watch Out For: The 4-minute export limit on the free plan means it’s best for short-form content and shorter student projects.
Beginner Tutorial: Kapwing has an excellent official “Getting Started” guide on their YouTube channel here.
5. Vmaker AI
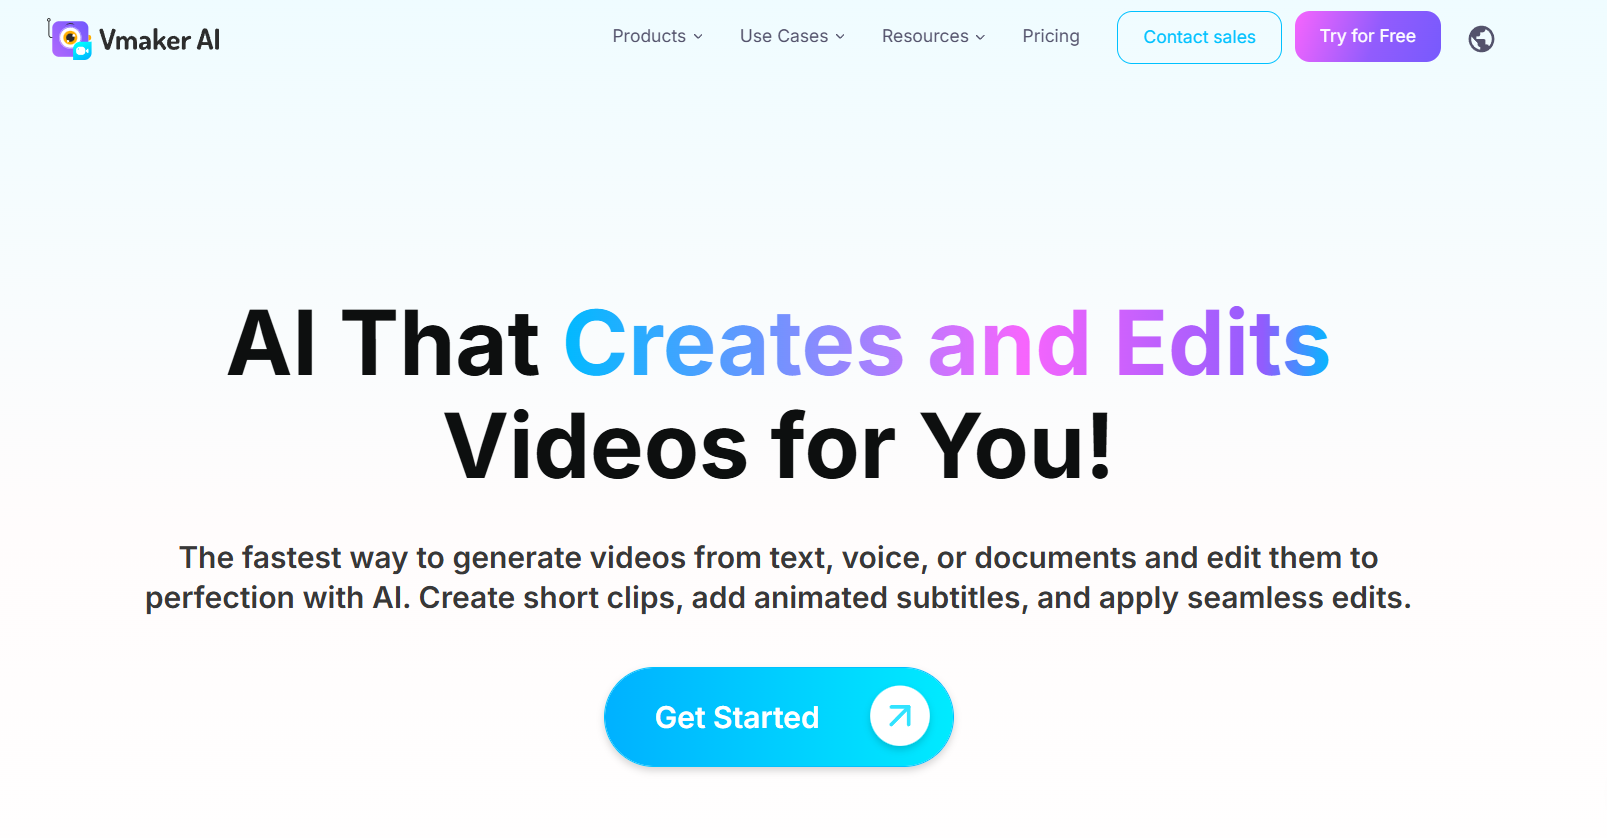
Best for: An AI-powered screen recorder and video editor.
Vmaker AI is a tool designed to make creating screen recordings—like tutorials or software demos—incredibly easy. After you record your screen, its AI video editor can automatically find the highlights of your video, remove silences and background noise, and help you edit it down into a polished final product. It’s perfect for students who need to create “how-to” videos or presentation recordings.
Use Case Example: A computer science student needs to create a video tutorial explaining how their code works. They use Vmaker to record their screen and then use the AI editor to automatically cut out the pauses and mistakes, creating a clean tutorial in a fraction of the time.
Pricing Details: Generous Freemium Model. The “Free” plan allows you to create unlimited videos (up to 7 minutes long) and gives you access to the core AI editing features.
What You’ll Need: The Vmaker desktop app for Mac or Windows.
Learning Curve: Beginner. The tool is very straightforward, from recording to final edit.
What to Watch Out For: Videos created on the free plan will have a Vmaker watermark.
Beginner Tutorial: You can find a great official guide on how to use the AI video editor here on YouTube.
6. Adobe Express
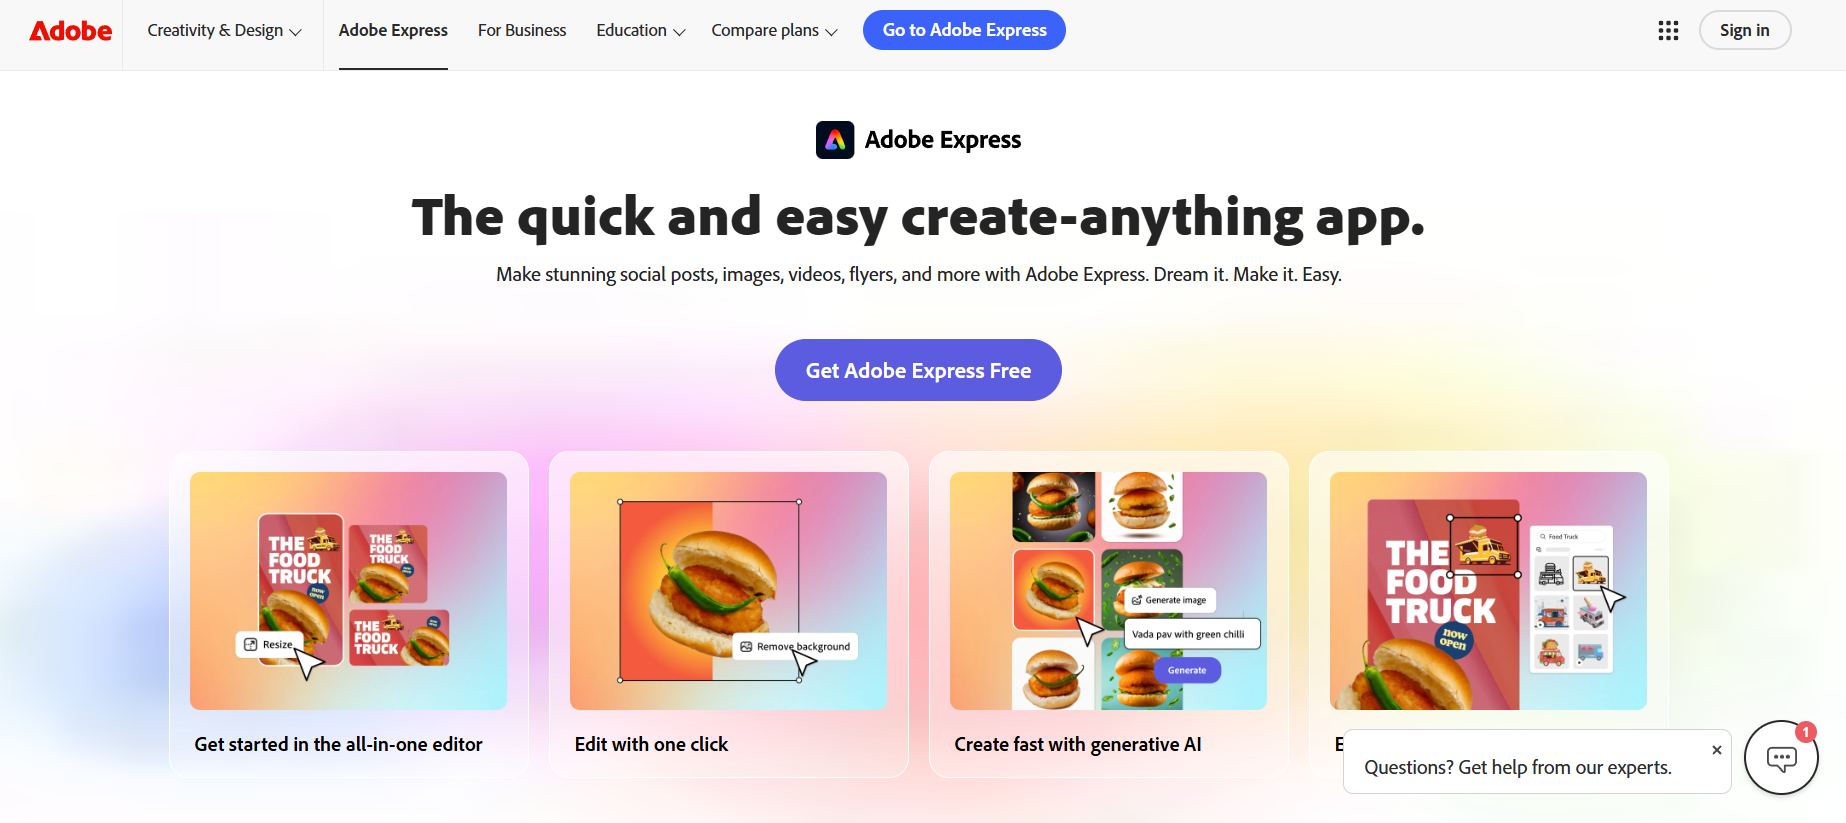
Best for: An all-in-one design tool with simple but powerful video and audio AI features.
Adobe Express is a versatile design platform that’s great for more than just graphics. It includes a simple video editor with some fantastic AI-powered features. You can use its “Animate from Audio” tool to automatically create an animated character that lip-syncs to your voice recording. It also has AI tools for generating images and trimming videos, making it a great all-in-one tool for creative projects.
Use Case Example: A student wants to create a fun, animated explainer video for a project. They record a voiceover, upload it to Adobe Express, and the AI automatically creates an animated character that speaks their words, making the video much more engaging.
Pricing Details: Excellent Freemium Model. The free plan is very powerful and includes access to the “Animate from Audio” feature and a generous number of monthly credits for other AI tools like “Text to Image.”
What You’ll Need: A web browser.
Learning Curve: Beginner. The interface is very clean and user-friendly.
What to Watch Out For: The video editor is quite basic and is best for simple projects and social media content, not for long-form, complex films.
Beginner Tutorial: Adobe has a great official guide on the here on YouTube.
7. Otter.ai
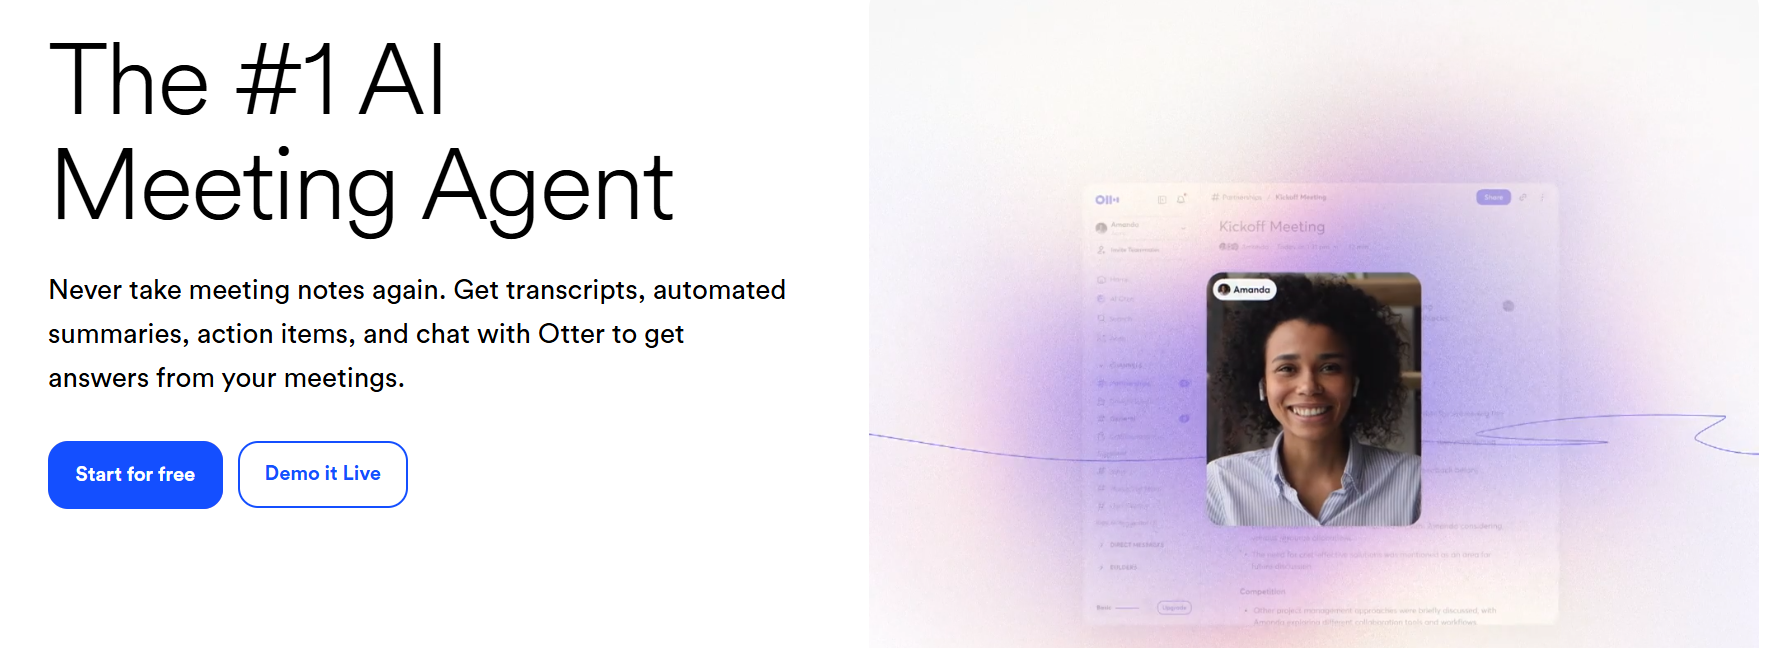
Best for: Transcribing audio from lectures, interviews, and videos into text.
While not a video editor, Otter.ai is an essential tool for any student working with audio or video content. It uses AI to automatically transcribe spoken words into a full text document with timestamps and speaker labels. This is incredibly useful for creating subtitles for your videos, taking notes from a recorded lecture, or getting a written transcript of an interview for a documentary-style project.
Use Case Example: A student has finished editing their video project. They export the audio, upload it to Otter.ai to get an accurate transcript, and then use that text to easily create subtitles for their final video.
Pricing Details: Generous Freemium Model. The free plan gives you 300 minutes of transcription every month, with a limit of 30 minutes per recording. This is perfect for transcribing individual classes or short videos.
What You’ll Need: A web browser or their mobile app.
Learning Curve: Beginner. You simply upload an audio file, and the app does the rest.
What to Watch Out For: The AI transcription isn’t perfect and may struggle with accents or technical terms, so a quick proofread is always a good idea.
Beginner Tutorial: Otter.ai has a simple tutorial on how to get started here on YouTube.
8. ElevenLabs
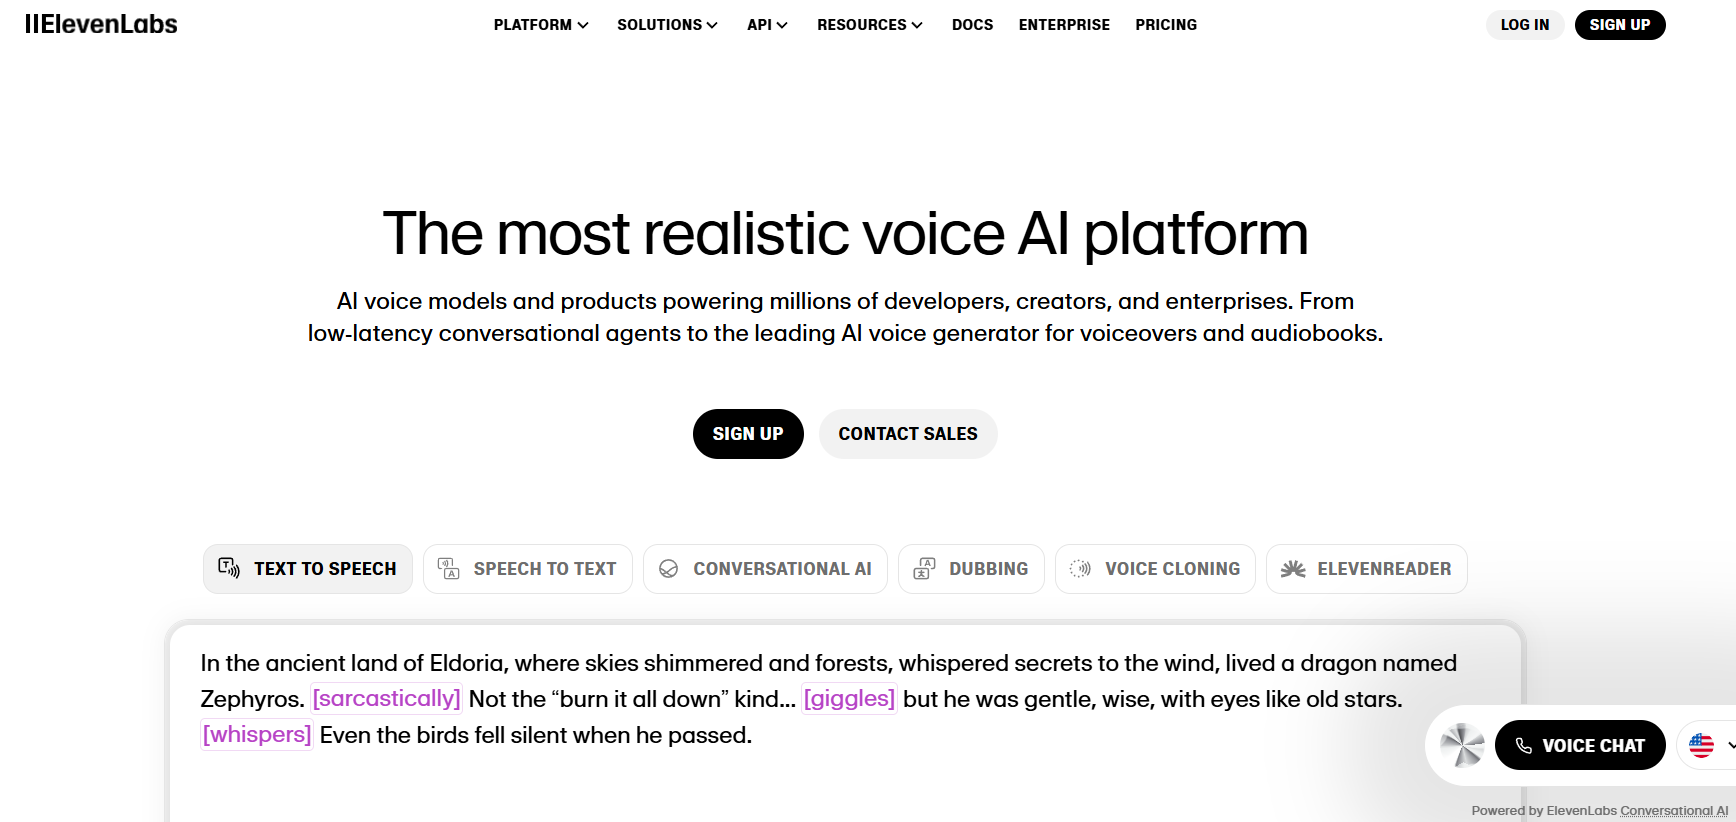
Best for: Creating the most realistic and human-sounding AI voiceovers.
ElevenLabs is widely considered the industry leader in realistic AI text-to-speech (TTS). The quality of its AI voices is so high that it’s often difficult to tell them apart from a human narrator. You can type in a script, choose from a huge library of voices, and generate a professional-quality voiceover for your video projects in seconds.
Use Case Example: A student is creating a documentary-style video but is not confident in their own narration voice. They paste their script into ElevenLabs and generate a clear, professional, and emotionally resonant voiceover for their film.
Pricing Details: Generous Freemium Model. The “Free” plan is fantastic for students. It gives you 10,000 characters per month (enough for about 10 minutes of audio) and allows you to create custom voices.
What You’ll Need: A web browser.
Learning Curve: Beginner. The interface is very simple: type your text, choose a voice, and click generate.
What to Watch Out For: To use the audio you create in a commercial project, you need to subscribe to a paid plan. The free plan is for non-commercial use only.
Beginner Tutorial: You can find a great full guide on how to get started with ElevenLabs here on YouTube.
9. Soundful
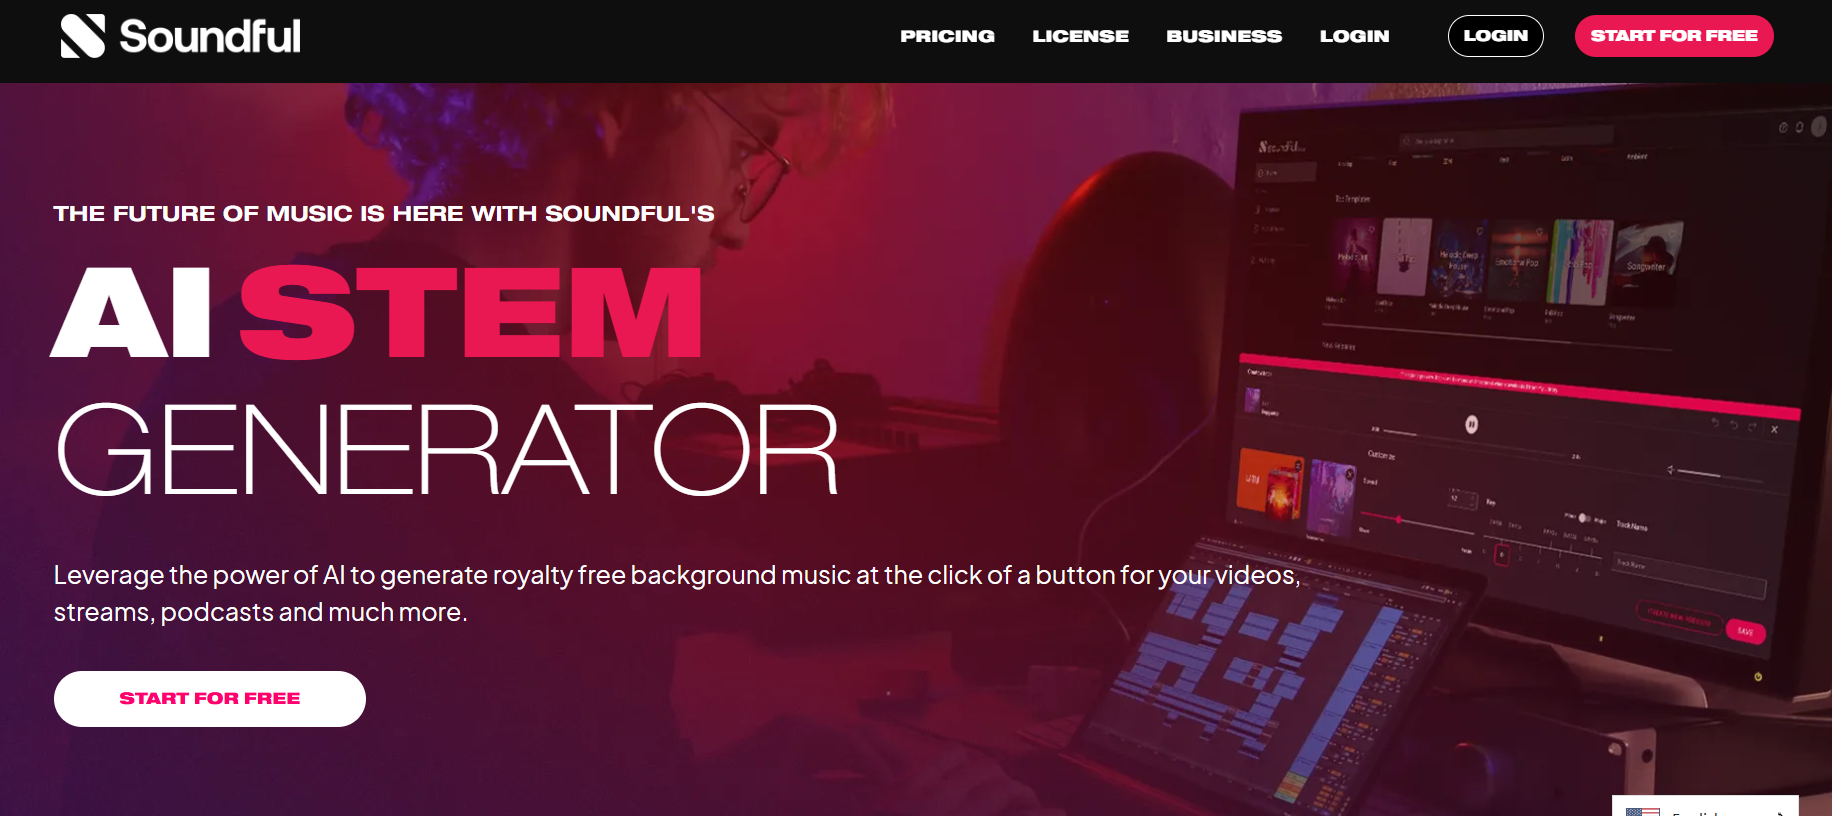
Best for: Generating unique, royalty-free background music for your videos.
Finding the perfect background music for a project can be difficult due to copyright issues. Soundful solves this problem by using AI to generate completely unique, royalty-free music tailored to your needs. You can choose a genre (like “Cinematic,” “Hip Hop,” or “Ambient”), select a mood, and the AI will create a track for you.
Use Case Example: A student is creating a dramatic short film and needs a tense, cinematic score. They use Soundful to generate a unique background track that perfectly matches the mood of their scene, without having to worry about copyright strikes on YouTube.
Pricing Details: Excellent “Free” Plan. The free-forever plan allows you to generate and download unlimited tracks for personal, non-commercial use.
What You’ll Need: A web browser.
Learning Curve: Beginner. The process of selecting a genre and mood is very simple and fun.
What to Watch Out For: The free plan is for non-commercial use only. If you plan to monetize your video on YouTube or use it for a business, you will need a paid subscription.
Beginner Tutorial: Heres a great Soundful tutorial on YouTube.
10. Luvvoice
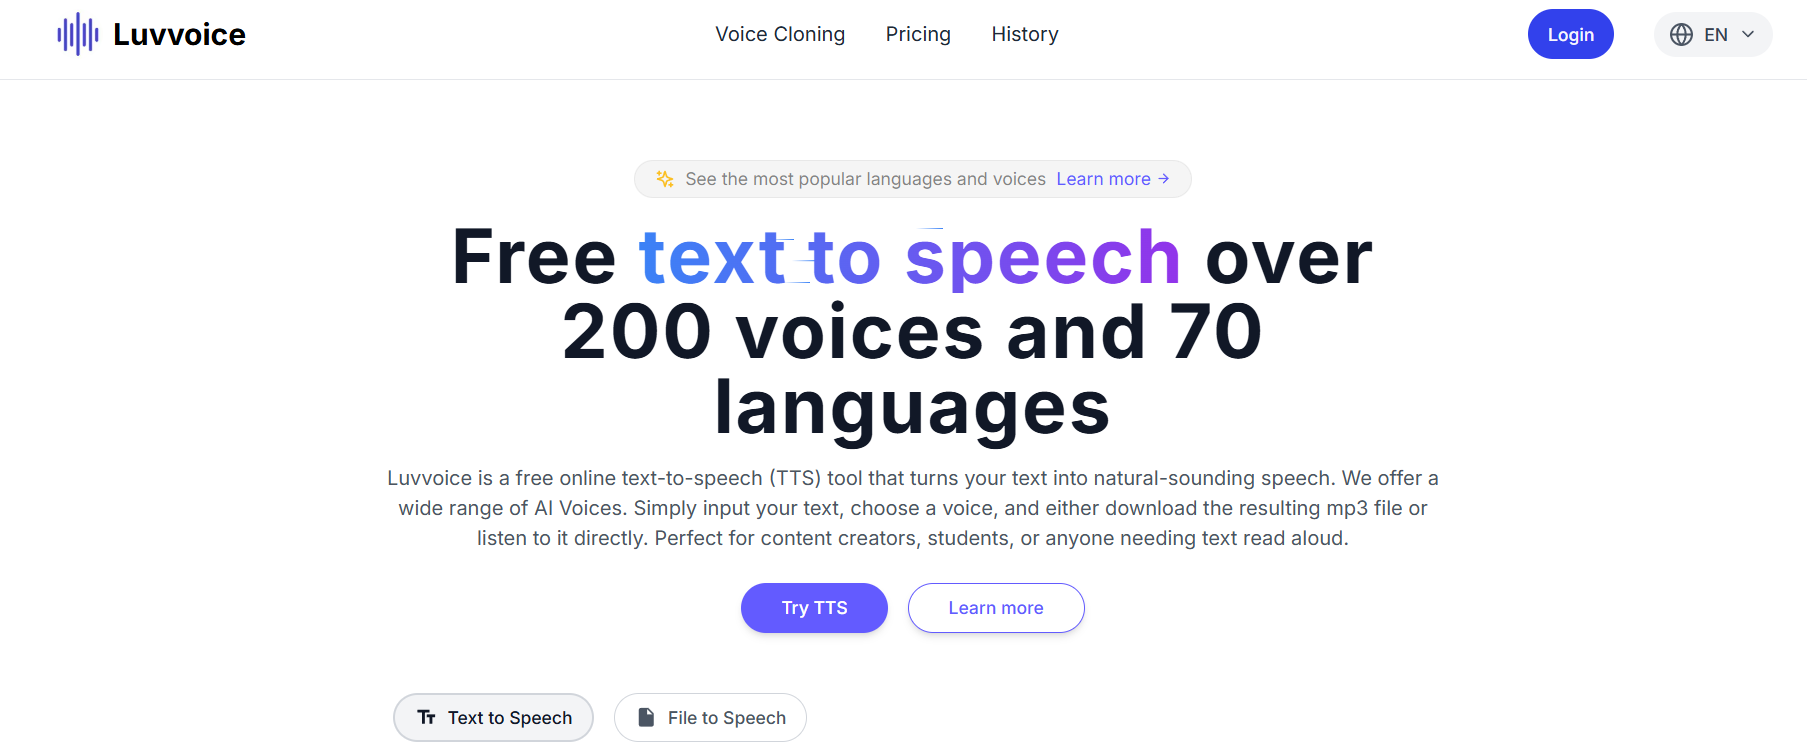
Best for: AI voice cloning and creating custom text-to-speech voices.
Luvvoice is a powerful AI voice tool that specializes in both text-to-speech and voice cloning. You can either use its library of pre-made voices to generate audio from your script, or you can use its voice cloning feature to create a digital replica of your own voice. This is a powerful feature for creating consistent voiceovers for a series of projects.
Use Case Example: A student is creating a YouTube channel with video tutorials. They use Luvvoice to clone their own voice, so they can quickly generate audio for new videos by simply typing a script, ensuring the voice is consistent even when they don’t have time to record.
Pricing Details: Freemium (with credits). The free plan gives you a number of credits to experiment with both text-to-speech and voice cloning features.
What You’ll Need: A web browser and a high-quality audio sample of a voice if you want to use the cloning feature.
Learning Curve: Beginner. The interface is clean and easy to navigate.
What to Watch Out For: The number of free credits is limited, and voice cloning can consume them quickly. The quality of a cloned voice is highly dependent on the quality of the audio sample you provide.
Beginner Tutorial: You can find a helpful guide on how to use the platform here on YouTube.
Which Tool Should You Start With?
Feeling a bit overwhelmed by the options? Here’s a quick guide:
If you want the best all-in-one editor… start with Descript. Its text-based editing will change the way you think about video.
If you want a simple, browser-based editor… use Kapwing. Its free plan is one of the most generous available.
If you need a professional voiceover for your project… go straight to ElevenLabs. The quality of its free voices is unmatched.
If you need unique background music… use Soundful. Its free plan is perfect for any non-commercial student project.
Conclusion: Your Journey into AI-Powered Content Creation Starts Now
As you can see, you no longer need expensive software or a professional studio to create high-quality video and audio content. These AI tools act as your personal editor, sound engineer, and composer, helping you to bring your creative vision to life faster and more easily than ever before.
The best way to learn is by doing. Pick one tool from this list that solves a problem you’re facing with your current project and give it a try. You’ll be amazed at how much you can create with a smart AI assistant by your side.
Written By
Prateek Singh.
Last Updated – August, 2025
About The Author
Prateek Singh believes the best way to learn is to get your hands dirty. He went from talking to customers in sales to building the online platforms they use. IndiaShouldKnow.com is his way of sharing that practical, hands-on knowledge with you.
FAQs About AI Use.
Can I trust every answer an AI tool gives me for my studies?
A: No, you should not trust every answer completely. Think of an AI as a super-smart assistant that has read most of the internet—but not every book in the library is accurate.
AI can sometimes make mistakes, misunderstand your question, or use outdated information.
It can even “hallucinate,” which means it confidently makes up an answer that sounds real but is completely false.
Rule of Thumb: Use AI answers as a great starting point, but never as the final, absolute truth. Always double-check important facts.
How can I verify the information I get from an AI for my academic work?
A: Verifying information is a crucial skill. It’s like being a detective for facts. Here are four simple steps:
Check Your Course Material: Is the AI’s answer consistent with what your textbook, lecture notes, or professor says? This is your most reliable source.
Look for Reputable Sources: Ask the AI for its sources or search for the information online. Look for links from universities (.edu), government sites (.gov), respected news organizations, or published academic journals.
Cross-Reference: Ask a different AI the same question, or type your question into a standard search engine like Google. If multiple reliable sources give the same answer, it’s more likely to be correct.
Use Common Sense: If an answer seems too perfect, too strange, or too good to be true, be extra skeptical and investigate it further.
What is the difference between using AI for research and using it to plagiarize?
A: This is a very important difference. It’s all about who is doing the thinking.
Using AI for Research (Good ✅):
Brainstorming topics for a paper.
Asking for a simple explanation of a complex theory.
Finding keywords to use in your library search.
Getting feedback on your grammar and sentence structure.
You are using AI as a tool to help you think and write better.
Using AI to Plagiarize (Bad ❌):
Copying and pasting an AI-generated answer directly into your assignment.
Asking the AI to write an entire essay or paragraph for you.
Slightly rephrasing an AI’s answer and submitting it as your own original thought.
You are letting the AI do the thinking and work for you.
How can I use AI ethically to support my learning without violating my school's academic honesty policy?
A: Using AI ethically means using it to learn, not to cheat. Here’s how:
Know the Rules: First and foremost, read your school’s or professor’s policy on using AI tools. This is the most important step.
Be the Author: The final work you submit must be yours. Your ideas, your structure, and your arguments. Use AI as a guide, not the writer.
Do the Heavy Lifting: Use AI to understand a topic, but then close the chat and write your summary or solve the problem yourself to make sure you have actually learned it.
Be Transparent: If you used an AI in a significant way (like for brainstorming), ask your professor if you should mention it. Honesty is always the best policy.
Can an AI's answer be biased? How can I detect this in its responses?
A: Yes, an AI’s answer can definitely be biased. Since AI learns from the vast amount of text on the internet written by humans, it can pick up and repeat human biases.
Here’s how to spot potential bias:
Look for Opinions: Does the answer present a strong opinion as a fact?
Check for One-Sidedness: On a topic with multiple viewpoints (like politics or economics), does the AI only show one side of the argument?
Watch for Stereotypes: Does the answer use generalizations about groups of people based on their race, gender, nationality, or other characteristics?
To avoid being misled by bias, always try to get information from multiple, varied sources.
Is it safe to upload my personal notes, research papers, or assignments to an AI tool?
A: It is best to be very careful. You should not consider your conversations with most public AI tools to be private.
Many AI companies use your conversations to train their systems, which means employees or contractors might read them.
There is always a risk of data breaches or leaks.
A Simple Safety Rule: Do not upload or paste any sensitive information that you would not want a stranger to see. This includes:
Personal identification details.
Confidential research or unpublished papers.
Your school assignments before you submit them.
Any financial or private data.
Related Articles
Sign Up for Our Newsletter To Learn More About the Latest In AI And Learn How To Use It.
Unlock your learning potential and stay ahead in the age of AI! Join the IndiaShouldKnow.com newsletter to discover how to seamlessly integrate Google AI into your studies for school, entrance exams, and college. Plus, get the latest insights on cutting-edge AI tools that can empower your career and enrich your life. Subscribe now for monthly updates.
