10 Amazing Free AI Tools for Presentations & Design

Create stunning slides, infographics, and visuals in minutes with these powerful AI assistants.
We’ve all been there. It’s midnight, your presentation is due tomorrow, and you’re staring at a blank, white slide, completely out of ideas. Creating presentations and graphics that look professional and engaging is tough, especially when you’re not a design expert. It can be a time-consuming and frustrating part of any school or college project.
But what if you had an AI design assistant that could help you brainstorm ideas, generate entire slide decks, and create stunning visuals in minutes?
That’s the power of the new wave of AI design tools. This guide is built for students who need to create high-quality work without the high price tag. We’ve done a deep dive to find the best AI tools for presentations and design that offer incredible “free forever” plans or very generous free tiers, perfect for long-term use throughout your academic career.
What Can You Actually Do With These AI Tools?
Before we dive into the list, it’s helpful to understand what makes these tools so game-changing for students.
Create Full Presentations from a Single Prompt: Go from a simple idea to a complete, well-structured slide deck in minutes.
Design Professional Graphics Instantly: Generate logos, social media posts, and report covers without any design experience.
Visualize Your Data Beautifully: Turn boring spreadsheets into clear, easy-to-understand charts and infographics.
Save Hours of Time: Automate the most time-consuming parts of the design process so you can focus on your content.
Quick Comparison Table
Tool Name
Gamma
Canva AI
SlidesAI.io
Tome
Slidesgo
Visme
Piktochart AI
Decktopus AI
Adobe Express
Microsoft Designer
Best For
AI-Powered Presentations & Docs
All-in-One Design Suite
Text-to-Presentation in Google Slides
AI Storytelling & Narratives
AI Presentations with Google Themes
Data Visualization & Infographics
Turning Data into Infographics
Guided Presentation Creation
Professional Design & Photo Tools
AI Image & Graphic Design
Pricing Model
Freemium (with credits)
Freemium
Freemium
Freemium (with credits)
Freemium
Freemium
Freemium
Freemium
Freemium
Freemium
Ease of Use
Beginner
Beginner
Beginner
Beginner
Beginner
Intermediate
Beginner
Beginner
Beginner
Beginner
1. Gamma
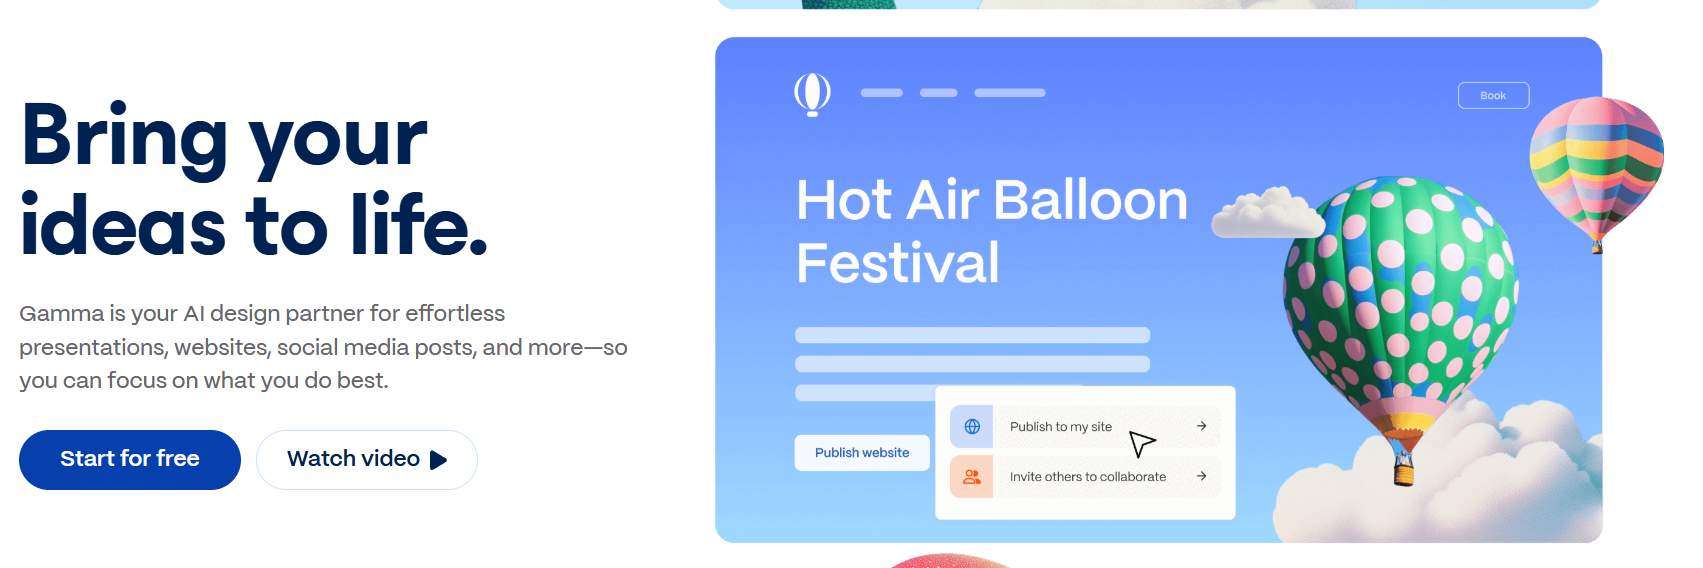
Best for: Creating beautiful, engaging presentations and documents from a single text prompt.
Gamma is a revolutionary tool that completely rethinks what a presentation can be. Instead of creating individual slides, you build interactive, web-based “apps” or documents. You simply give its AI a topic, and it generates a complete, beautifully designed presentation with text, layouts, and images already in place. It’s the fastest way to go from an idea to a polished, ready-to-share presentation.
Use Case Example: A student needs to create a 10-slide presentation on “The History of Space Exploration.” They type that topic into Gamma, which instantly generates a full presentation with an introduction, a timeline, key milestones, and a conclusion, all with stunning visuals.
Pricing Details: Freemium (One-Time Credits). You get a generous starting balance of 400 credits for free when you sign up. Generating a presentation costs credits, but they do not replenish. You can earn more credits through referrals.
What You’ll Need: A web browser.
Learning Curve: Beginner. The interface is incredibly simple and guides you through the entire process.
What to Watch Out For: The one-time credit system means the free plan is more like an extended trial. Once your credits are gone, you’ll need to upgrade or refer others.
Beginner Tutorial: Gamma has an excellent official “Getting Started” guide here on YouTube.
2. Canva AI
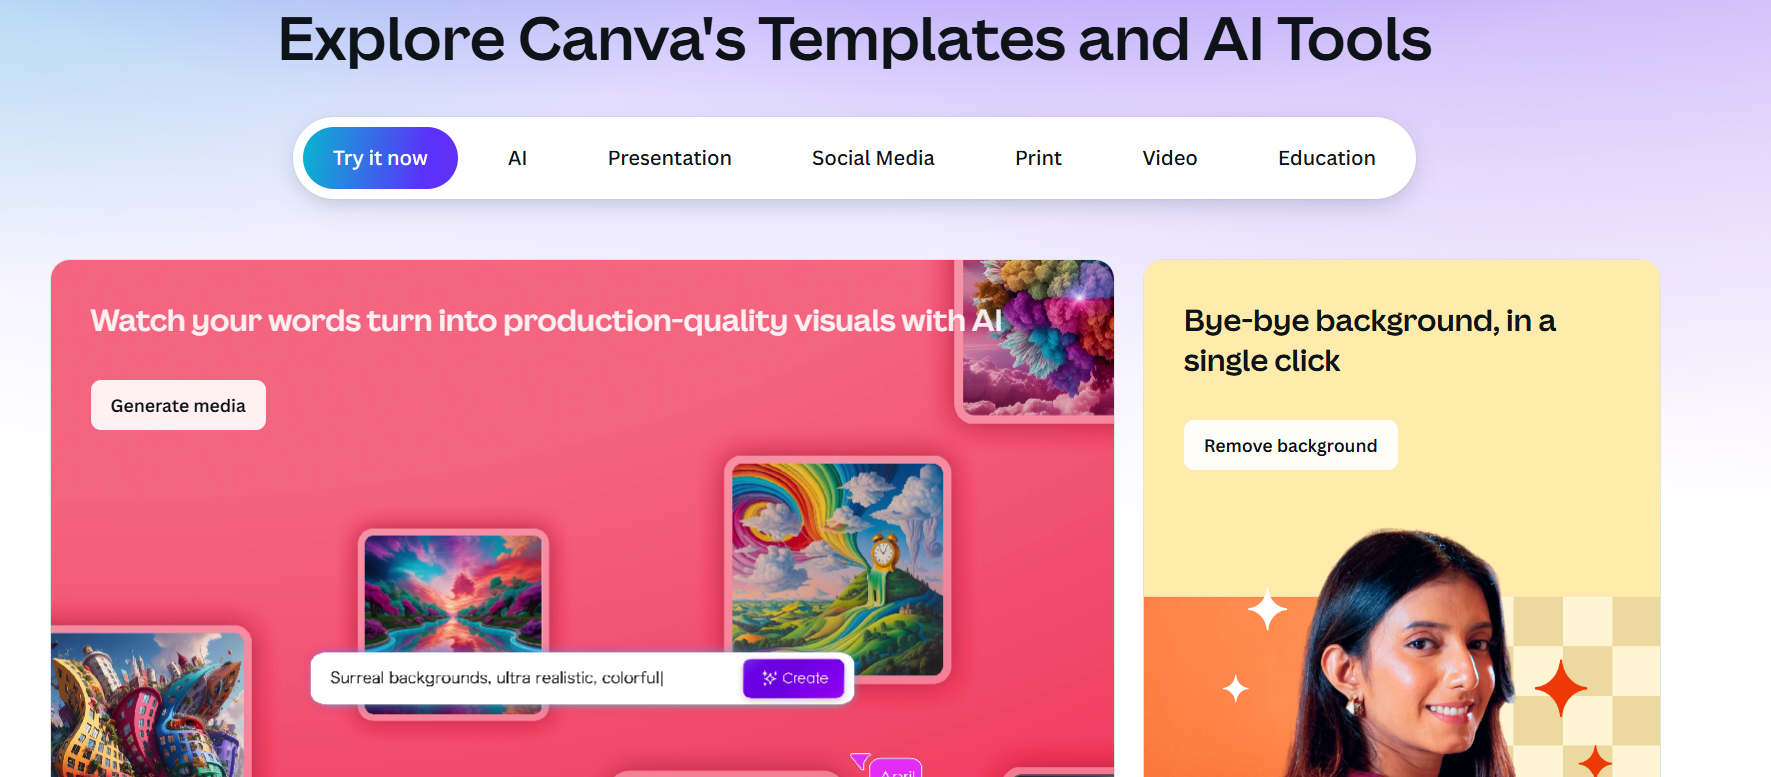
Best for: An all-in-one design suite for everything from presentations to social media.
Canva is already a favorite among students, but its suite of AI tools, called “Magic Studio,” has made it even more powerful. You can now use AI to generate entire presentation designs (“Magic Design”), write text for your slides, create custom images from a prompt, and even generate short videos. It’s a one-stop shop for almost any creative project you have for school or college.
Use Case Example: A student is creating a presentation and needs a specific image of “a scientist looking at a glowing beaker.” Instead of searching for stock photos, they use Canva’s “Magic Media” tool to generate the exact image they need in seconds.
Pricing Details: Excellent Freemium Model. Canva’s free plan is incredibly generous and includes access to many of the core AI features with some limitations (e.g., a limited number of “Magic Write” uses).
What You’ll Need: A web browser or their desktop/mobile apps.
Learning Curve: Beginner. Canva is famous for its user-friendly, drag-and-drop interface.
What to Watch Out For: The most powerful AI features, like “Magic Switch” (which reformats your design), are reserved for the paid Pro plan.
Beginner Tutorial: There’s a great Canva tutorial here on YouTube.
3. SlidesAI.io
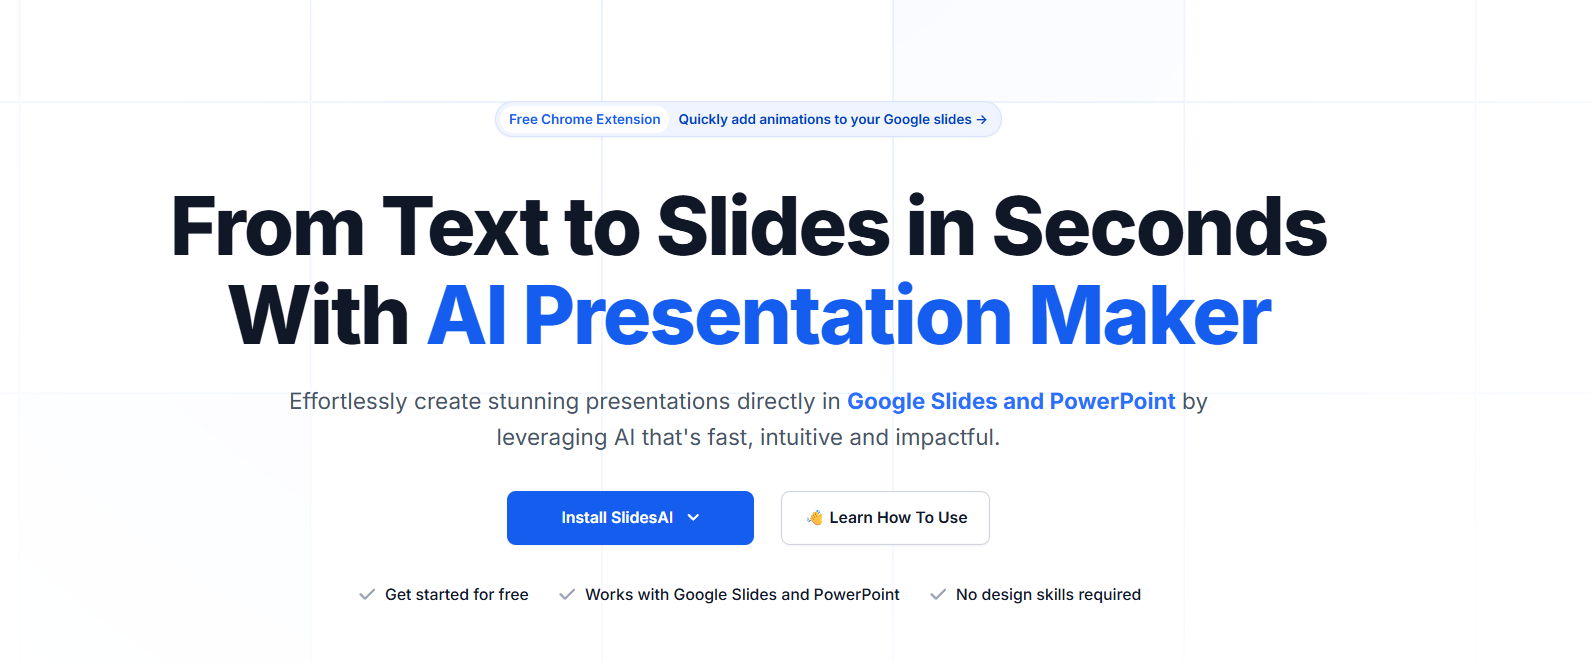
Best for: Instantly turning your existing text into a presentation within Google Slides.
SlidesAI.io is a lifesaver for anyone who has already written their content and just needs to turn it into a presentation quickly. It works as an add-on directly inside Google Slides. You can paste a long piece of text (like your essay or notes), and the AI will automatically summarize the content, break it down into individual slides, and add relevant images.
Use Case Example: A student has written a 5-page report in a Google Doc. They copy the text, open Google Slides, and use the SlidesAI.io add-on to instantly generate a 15-slide presentation based on their report, complete with titles and visuals.
Pricing Details: Generous Freemium Model. The free plan allows you to create 3 presentations per month, which is perfect for most students’ needs.
What You’ll Need: A Google account and Google Slides.
Learning Curve: Beginner. The process is very simple and happens right inside an application you already know.
What to Watch Out For: The design of the slides can be a bit basic compared to more advanced tools like Gamma. It’s best for creating a solid first draft that you can then customize.
Beginner Tutorial: You can find a great, quick guide on how to use SlidesAI.io on their website.
4. Mentimeter

Best for: Creating interactive presentations with live polls, quizzes, and Q&As.
Mentimeter is a powerful tool for making your presentations engaging instead of just a one-way lecture. Its AI Menti Builder can generate a full presentation from a simple prompt, but its real strength is in creating interactive slides. You can easily add live polls, word clouds, quizzes, and Q&A sessions that your audience can participate in using their phones.
Use Case Example: A student is giving a class presentation and wants to keep their classmates engaged. They use Mentimeter’s AI to create a presentation and add a live poll mid-way through to ask for opinions, showing the results instantly on the screen.
Pricing Details: Excellent Freemium Model. The free “Basic” plan allows you to create unlimited presentations and have an unlimited audience size. It limits you to 2 question slides and 5 quiz slides per presentation, which is great for student use.
What You’ll Need: A web browser.
Learning Curve: Beginner. The interface is very intuitive, and the AI builder makes getting started incredibly fast.
What to Watch Out For: The free plan’s limits on question slides mean you need to be strategic. It’s best for making specific parts of your presentation interactive, not for long, complex quizzes.
Beginner Tutorial: Mentimeter has a great official guide on how to use the AI Menti Builder here on YouTube.
5. Slidesgo
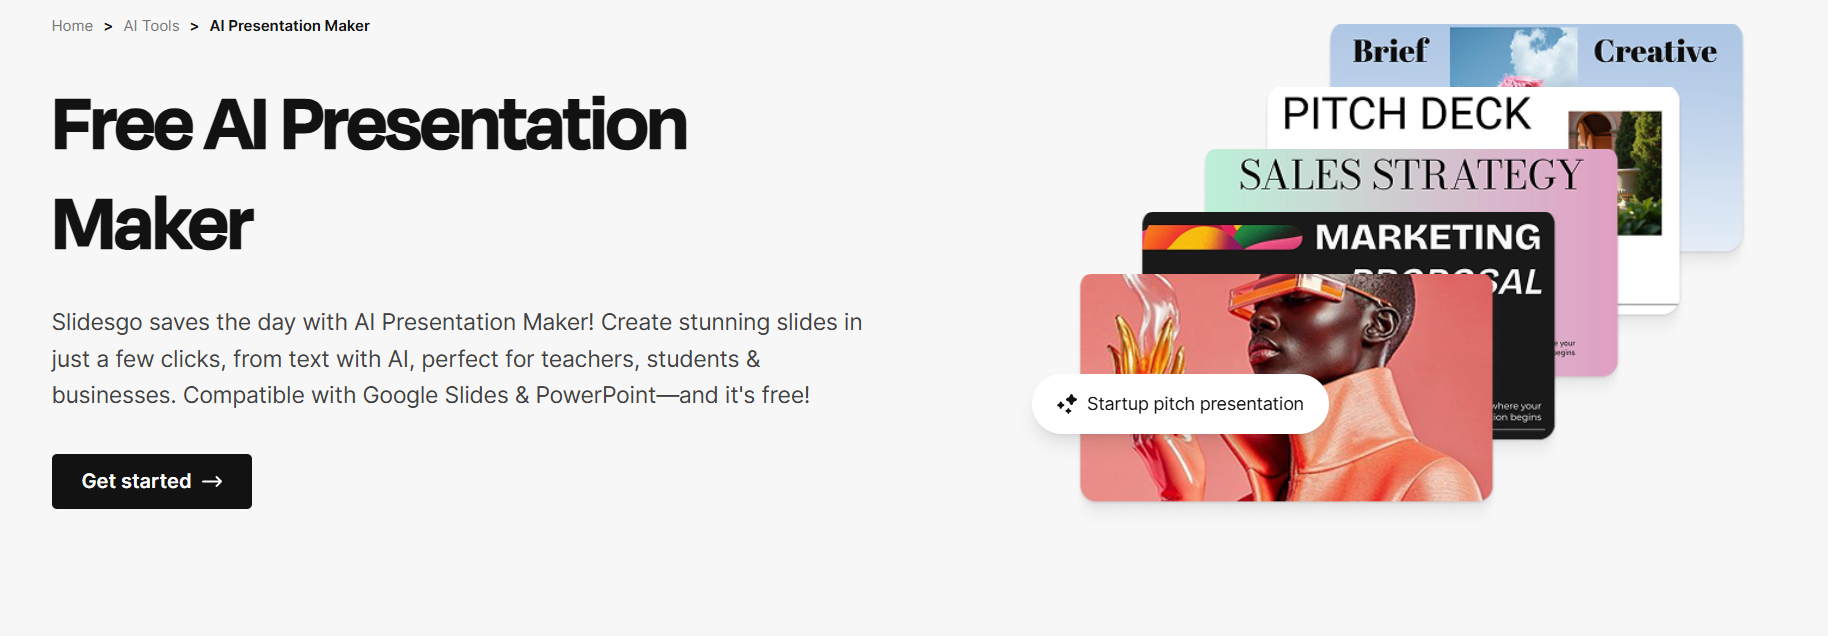
Best for: Generating presentations with the high-quality templates from the popular Slidesgo library.
Many students already love Slidesgo for its massive library of beautiful Google Slides and PowerPoint templates. Now, they have an AI Presentation Maker that uses that same design expertise. You give it a topic, and it generates a complete presentation using one of their signature, high-quality templates, which you can then edit directly in Google Slides.
Use Case Example: A student needs a presentation for their marketing class that looks vibrant and modern. They use the Slidesgo AI maker, and it generates a presentation with the fun, illustrative style that the platform is known for.
Pricing Details: Excellent Freemium Model. The free plan allows you to generate and download a good number of AI presentations per month, but you are required to give attribution.
What You’ll Need: A web browser.
Learning Curve: Beginner. The process is very straightforward, from prompt to final presentation.
What to Watch Out For: The best and most popular templates are often reserved for premium users.
Beginner Tutorial: You can see a quick and helpful guide on how to use the AI Presentation Maker here on YouTube.
6. Visme
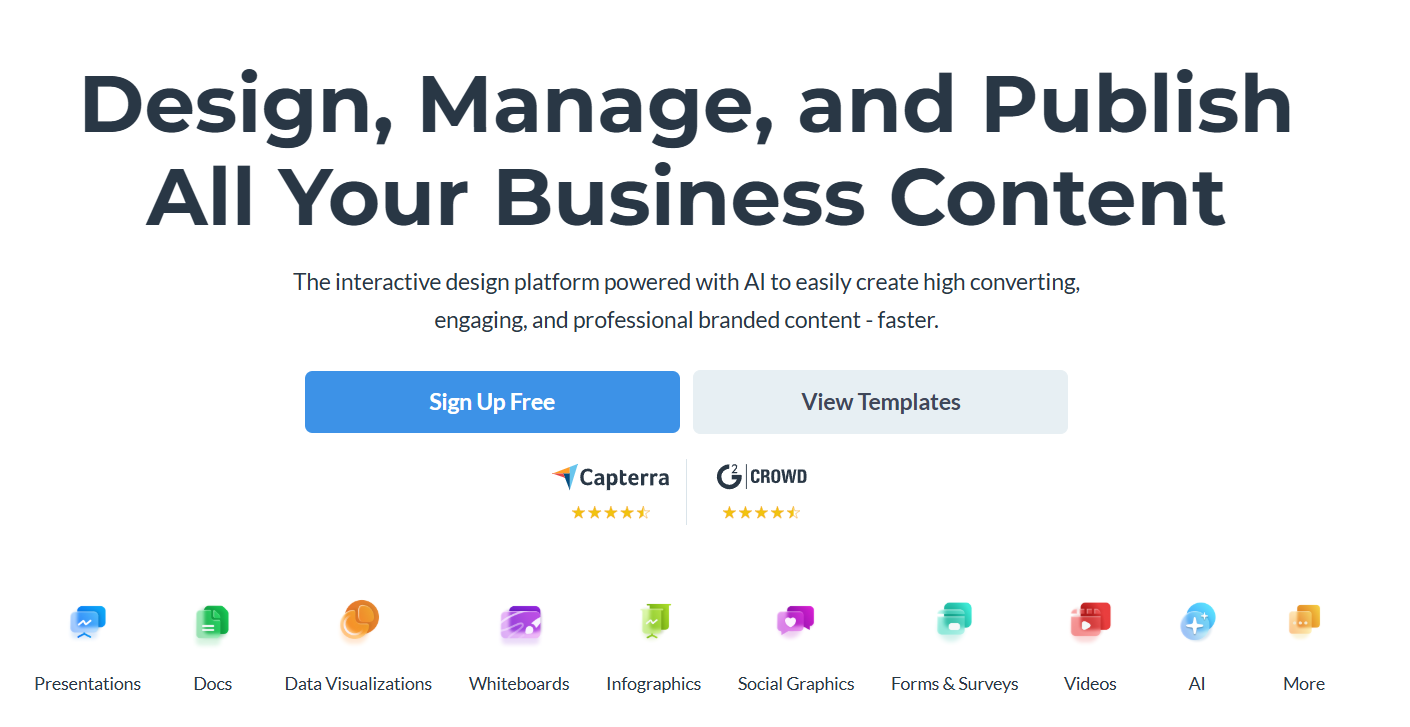
Best for: Creating data visualizations, infographics, and professional reports.
Visme is a powerful, all-in-one design platform that excels at turning data into beautiful visuals. While it can create presentations, its real strength lies in its tools for making charts, graphs, and infographics. Its AI features can help you generate design layouts and suggest data visualizations, making it perfect for students who need to present data-heavy information in a clear and engaging way.
Use Case Example: An economics student has a spreadsheet full of data for their project. They use Visme to turn that data into a series of clean, easy-to-understand charts and then combine them into a professional-looking infographic.
Pricing Details: Generous Freemium Model. The free “Basic” plan gives you a good amount of storage and access to most of the templates and design assets.
What You’ll Need: A web browser.
Learning Curve: Intermediate. It’s a very powerful tool with a lot of features, so it can take a bit more time to learn than simpler tools like Canva.
What to Watch Out For: On the free plan, your projects will have a Visme watermark.
Beginner Tutorial: Visme has a great Getting Started video that walks you through the platform here on YouTube.
7. Piktochart AI
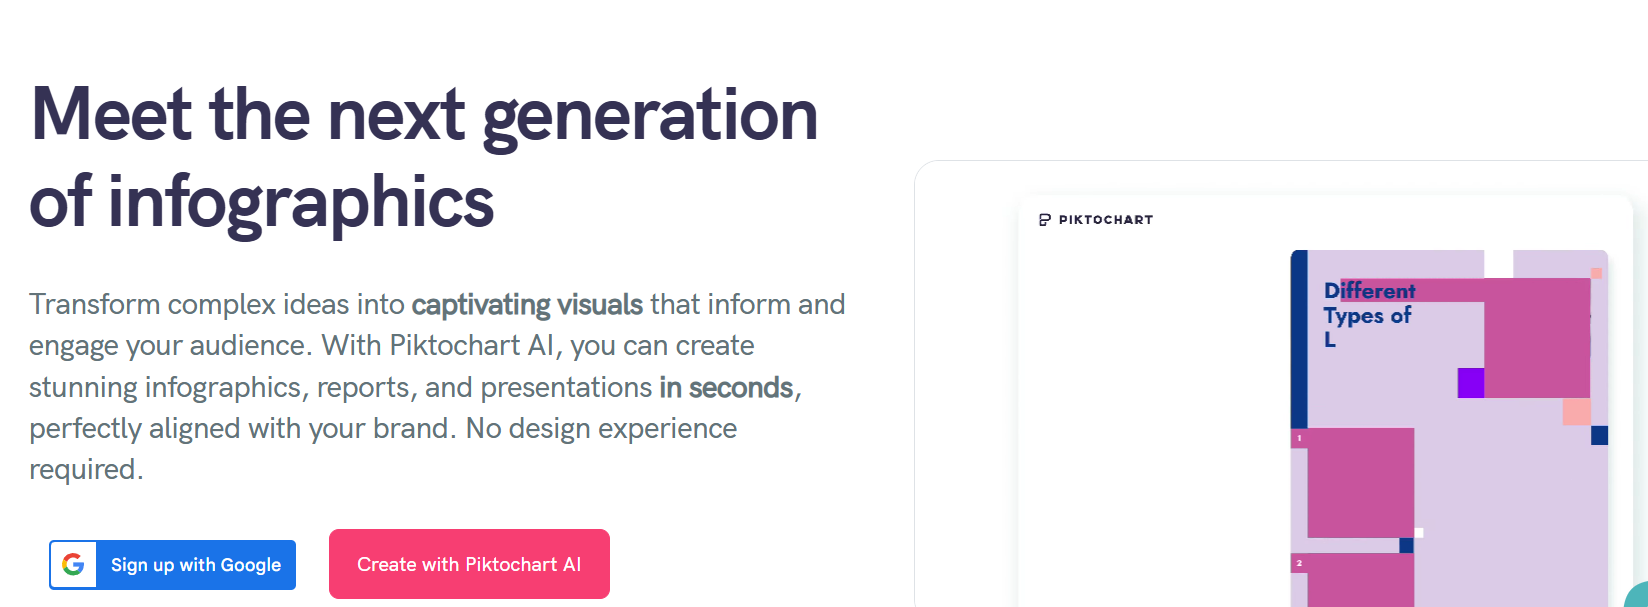
Best for: Quickly turning complex data or text into a simple infographic.
Piktochart has long been a favorite for creating infographics, and their new AI tool makes the process even easier. You can simply provide a topic or paste some data, and the AI will automatically generate a professional-looking infographic for you. It’s one of the fastest ways to visualize information for a report, presentation, or social media post.
Use Case Example: A science student needs to create a visual summary of a complex biological process. They give Piktochart AI the key steps, and it generates an infographic with icons and a clear flow, making the process easy to understand.
Pricing Details: Generous Freemium Model. The free plan allows you to create a good number of visuals and gives you access to a wide range of templates and assets.
What You’ll Need: A web browser.
Learning Curve: Beginner. The tool is designed to be very user-friendly and guides you through the creation process.
What to Watch Out For: Your downloads on the free plan will have a Piktochart watermark.
Beginner Tutorial: You can find a great guide on how to use the AI infographic maker here on YouTube.
8. Decktopus AI
Best for: A guided, step-by-step approach to creating professional presentations.
Decktopus AI is a unique presentation tool that acts more like a personal coach. Instead of giving you a blank canvas, it guides you through the creation process step-by-step, asking you questions about your audience, your goal, and your content. This structured approach ensures that your final presentation is not only well-designed but also well-thought-out.
Use Case Example: A student who is nervous about public speaking uses Decktopus. The AI helps them structure their presentation logically, create speaker notes for each slide, and even rehearse their timing.
Pricing Details: Freemium. The free plan allows you to create and share presentations, but with a Decktopus watermark.
What You’ll Need: A web browser.
Learning Curve: Beginner. It’s designed to be a guided experience, making it perfect for those new to creating presentations.
What to Watch Out For: It’s less flexible than other tools. The guided structure is great for beginners but might feel restrictive for experienced presenters.
Beginner Tutorial: You can see a quick and helpful overview of the tool here on YouTube.
9. Adobe Express
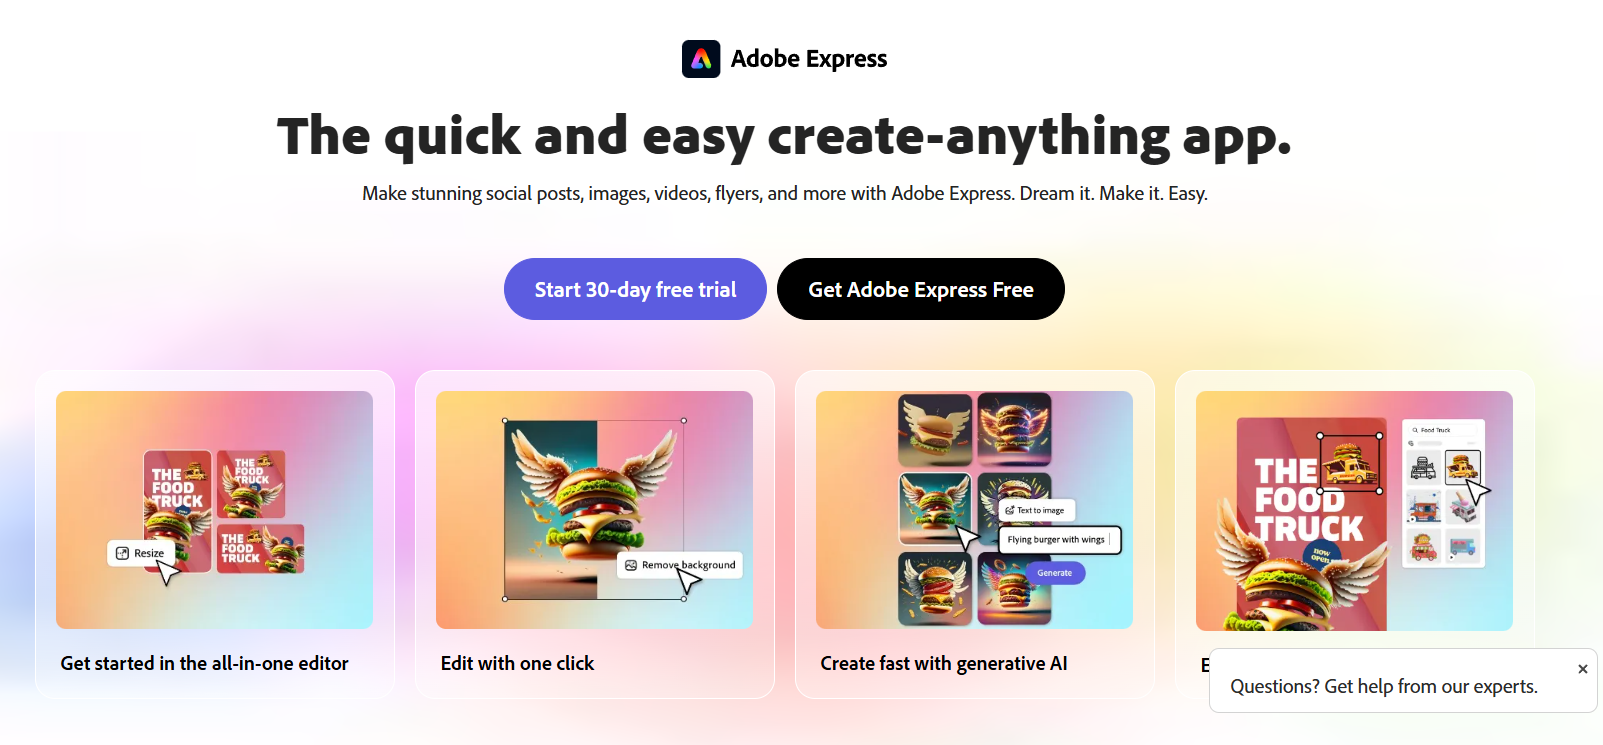
Best for: Professional-grade design and photo editing tools in an easy-to-use package.
Adobe Express is Adobe’s answer to Canva, and it brings the power of professional tools like Photoshop and Illustrator into a simple, free, web-based app. Its AI features, powered by Adobe Firefly, are fantastic. You can use “Text to Image” to generate high-quality images, “Generative Fill” to add or remove objects from photos, and create stunning text effects from a simple prompt.
Use Case Example: A design student needs to create a poster for a college event. They use Adobe Express to generate a unique background image with AI, add eye-catching text effects, and then use the AI-powered layout suggestions to arrange everything perfectly.
Pricing Details: Excellent Freemium Model. The free plan is incredibly powerful, giving you access to thousands of templates, Adobe Fonts, and a generous number of monthly “Generative Credits” to use the Firefly AI features.
What You’ll Need: A web browser or their mobile apps.
Learning Curve: Beginner. The interface is very clean and user-friendly, especially for those who might be intimidated by the full Adobe Creative Suite.
What to Watch Out For: Some of the most advanced features and premium templates require a paid subscription.
Beginner Tutorial: Adobe has a great official “Getting Started” guide for Express here on YouTube.
10. Microsoft Designer
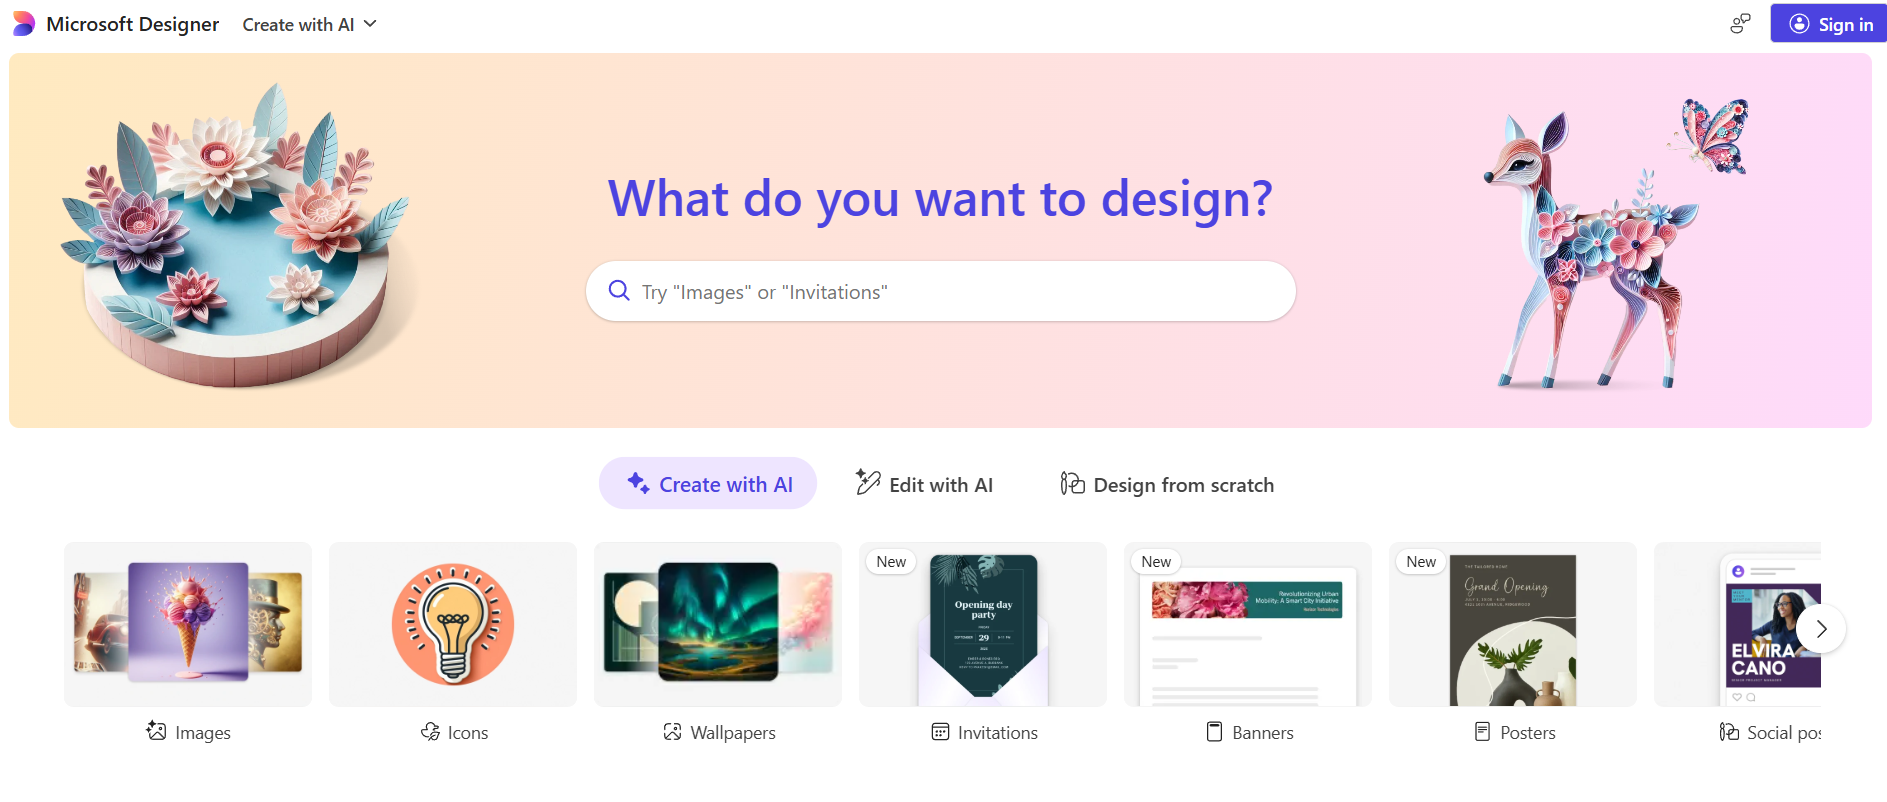
Best for: High-quality AI image and graphic design powered by DALL-E 3.
Microsoft Designer is a powerful and easy-to-use graphic design app that directly integrates some of the best AI models available. You can describe the design you want, and it will generate a variety of professional templates for you to choose from. Its standout feature is the integrated DALL-E 3 image generator, which allows you to create incredibly high-quality, unique images for your projects right inside the app.
Use Case Example: A student needs an eye-catching graphic for a social media post announcing a college event. They type “a promotional Instagram post for a university tech fest with a futuristic robot mascot,” and Microsoft Designer generates a series of polished, editable designs.
Pricing Details: Excellent Free Plan. The free version of Microsoft Designer is very generous. It includes a large number of free AI image generation credits from DALL-E 3, making it one of the best free options for AI art.
What You’ll Need: A web browser and a Microsoft account.
Learning Curve: Beginner. The interface is clean, modern, and very easy to learn, especially for those familiar with tools like Canva.
What to Watch Out For: While great for graphics and social media, its presentation-making capabilities are not as advanced as dedicated tools like Gamma or Mentimeter.
Beginner Tutorial: You can find a great official “Getting Started” guide for Microsoft Designer here on YouTube.
Which Tool Should You Start With?
Feeling a bit confused about where to start ? Here’s a quick guide:
If you need to create a presentation fast… start with Gamma. Its text-to-presentation feature is the quickest way to get a beautiful first draft.
If you need an all-around design tool for everything… use Canva or Adobe Express. Their free plans are incredibly powerful and versatile.
If you want to make your presentation interactive… try Mentimeter. It’s the best tool for engaging your audience with live polls and Q&As.
If you need to create a data-heavy infographic… try Visme or Piktochart AI. They are specifically designed to make your data look amazing.
Conclusion: Your Journey into AI-Powered Creativity Starts Now
As you can see, you no longer need to be a professional designer to create stunning, high-quality presentations and graphics. These AI tools act as your personal creative assistant, helping you turn your ideas into beautiful visuals, save countless hours, and present your work with confidence.
The best way to learn is by doing. Pick one tool from this list that solves a problem you’re facing right now and try it out for your next project. You’ll be amazed at how much easier and more fun the creative process can be.
Written By
Prateek Singh.
Last Updated – August, 2025
About The Author
Prateek Singh believes the best way to learn is to get your hands dirty. He went from talking to customers in sales to building the online platforms they use. IndiaShouldKnow.com is his way of sharing that practical, hands-on knowledge with you.
FAQs About AI Use.
Can I trust every answer an AI tool gives me for my studies?
A: No, you should not trust every answer completely. Think of an AI as a super-smart assistant that has read most of the internet—but not every book in the library is accurate.
AI can sometimes make mistakes, misunderstand your question, or use outdated information.
It can even “hallucinate,” which means it confidently makes up an answer that sounds real but is completely false.
Rule of Thumb: Use AI answers as a great starting point, but never as the final, absolute truth. Always double-check important facts.
How can I verify the information I get from an AI for my academic work?
A: Verifying information is a crucial skill. It’s like being a detective for facts. Here are four simple steps:
Check Your Course Material: Is the AI’s answer consistent with what your textbook, lecture notes, or professor says? This is your most reliable source.
Look for Reputable Sources: Ask the AI for its sources or search for the information online. Look for links from universities (.edu), government sites (.gov), respected news organizations, or published academic journals.
Cross-Reference: Ask a different AI the same question, or type your question into a standard search engine like Google. If multiple reliable sources give the same answer, it’s more likely to be correct.
Use Common Sense: If an answer seems too perfect, too strange, or too good to be true, be extra skeptical and investigate it further.
What is the difference between using AI for research and using it to plagiarize?
A: This is a very important difference. It’s all about who is doing the thinking.
Using AI for Research (Good ✅):
Brainstorming topics for a paper.
Asking for a simple explanation of a complex theory.
Finding keywords to use in your library search.
Getting feedback on your grammar and sentence structure.
You are using AI as a tool to help you think and write better.
Using AI to Plagiarize (Bad ❌):
Copying and pasting an AI-generated answer directly into your assignment.
Asking the AI to write an entire essay or paragraph for you.
Slightly rephrasing an AI’s answer and submitting it as your own original thought.
You are letting the AI do the thinking and work for you.
How can I use AI ethically to support my learning without violating my school's academic honesty policy?
A: Using AI ethically means using it to learn, not to cheat. Here’s how:
Know the Rules: First and foremost, read your school’s or professor’s policy on using AI tools. This is the most important step.
Be the Author: The final work you submit must be yours. Your ideas, your structure, and your arguments. Use AI as a guide, not the writer.
Do the Heavy Lifting: Use AI to understand a topic, but then close the chat and write your summary or solve the problem yourself to make sure you have actually learned it.
Be Transparent: If you used an AI in a significant way (like for brainstorming), ask your professor if you should mention it. Honesty is always the best policy.
Can an AI's answer be biased? How can I detect this in its responses?
A: Yes, an AI’s answer can definitely be biased. Since AI learns from the vast amount of text on the internet written by humans, it can pick up and repeat human biases.
Here’s how to spot potential bias:
Look for Opinions: Does the answer present a strong opinion as a fact?
Check for One-Sidedness: On a topic with multiple viewpoints (like politics or economics), does the AI only show one side of the argument?
Watch for Stereotypes: Does the answer use generalizations about groups of people based on their race, gender, nationality, or other characteristics?
To avoid being misled by bias, always try to get information from multiple, varied sources.
Is it safe to upload my personal notes, research papers, or assignments to an AI tool?
A: It is best to be very careful. You should not consider your conversations with most public AI tools to be private.
Many AI companies use your conversations to train their systems, which means employees or contractors might read them.
There is always a risk of data breaches or leaks.
A Simple Safety Rule: Do not upload or paste any sensitive information that you would not want a stranger to see. This includes:
Personal identification details.
Confidential research or unpublished papers.
Your school assignments before you submit them.
Any financial or private data.
Related Articles
Sign Up for Our Newsletter To Learn More About the Latest In AI And Learn How To Use It.
Unlock your learning potential and stay ahead in the age of AI! Join the IndiaShouldKnow.com newsletter to discover how to seamlessly integrate Google AI into your studies for school, entrance exams, and college. Plus, get the latest insights on cutting-edge AI tools that can empower your career and enrich your life. Subscribe now for monthly updates.
